Heropost is a social media scheduler with an AI agent built in. This guide covers everything you need to get going: a 6-minute video, then every step below with screenshots. Each section links to the exact moment in the video.
Watch the full guide on YouTube. The screenshots use a sample brand, FORM.
1. Set up Hero_Agent
Hero_Agent is the AI agent inside Heropost. Setup takes about a minute.
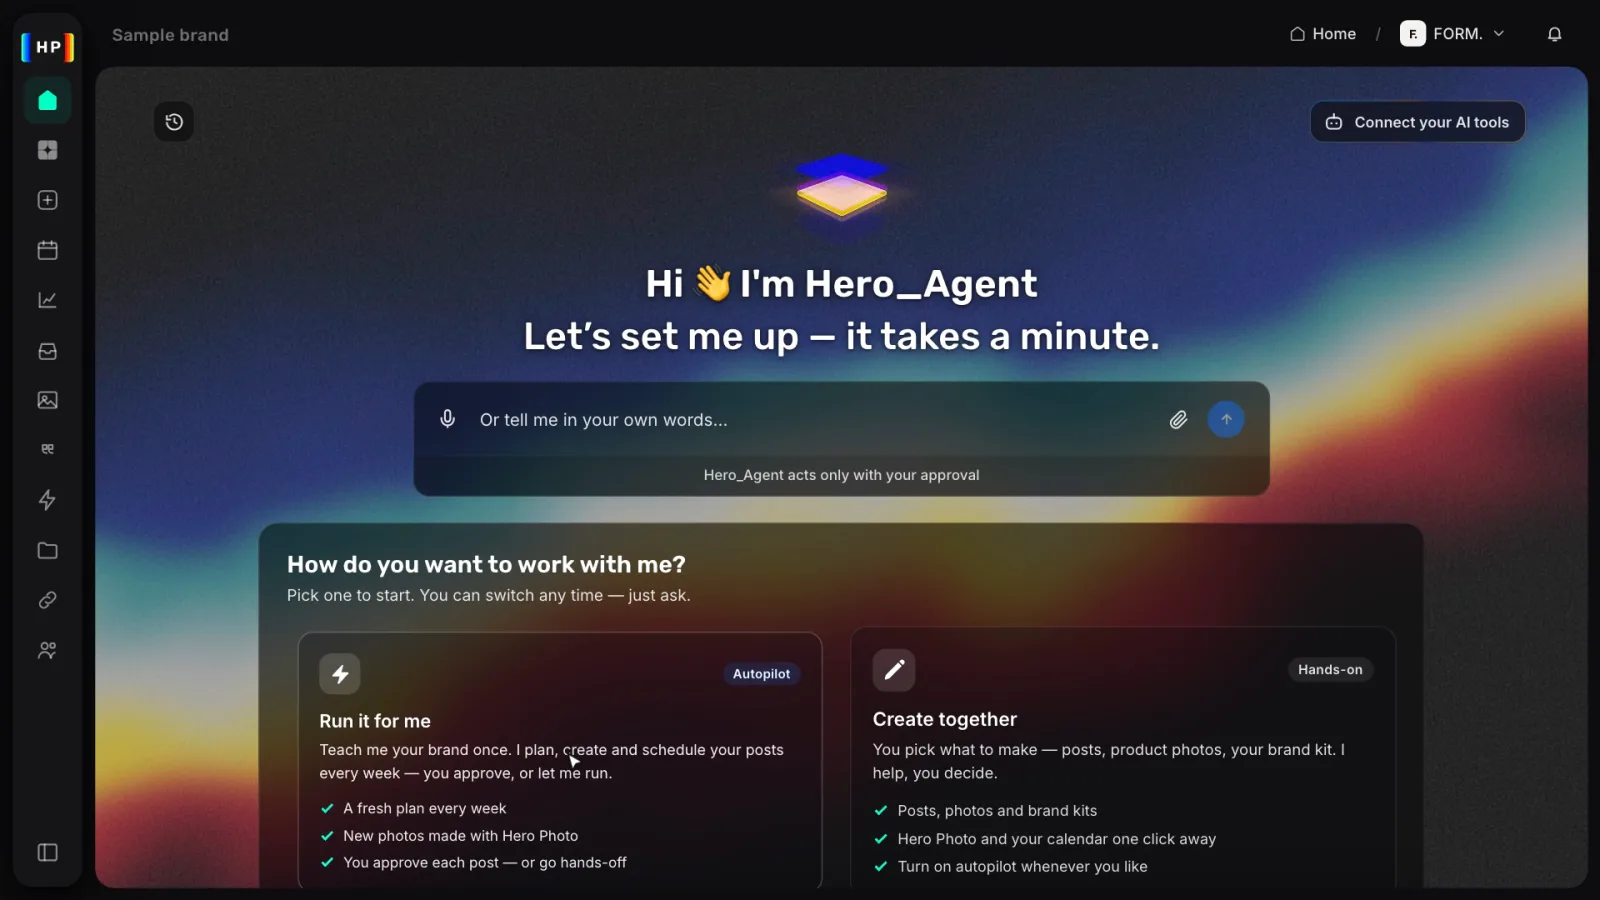
- Open Home. Hero_Agent asks how you’d like to work. Choose Run it for me: it plans, creates and schedules your posts, and you approve them.
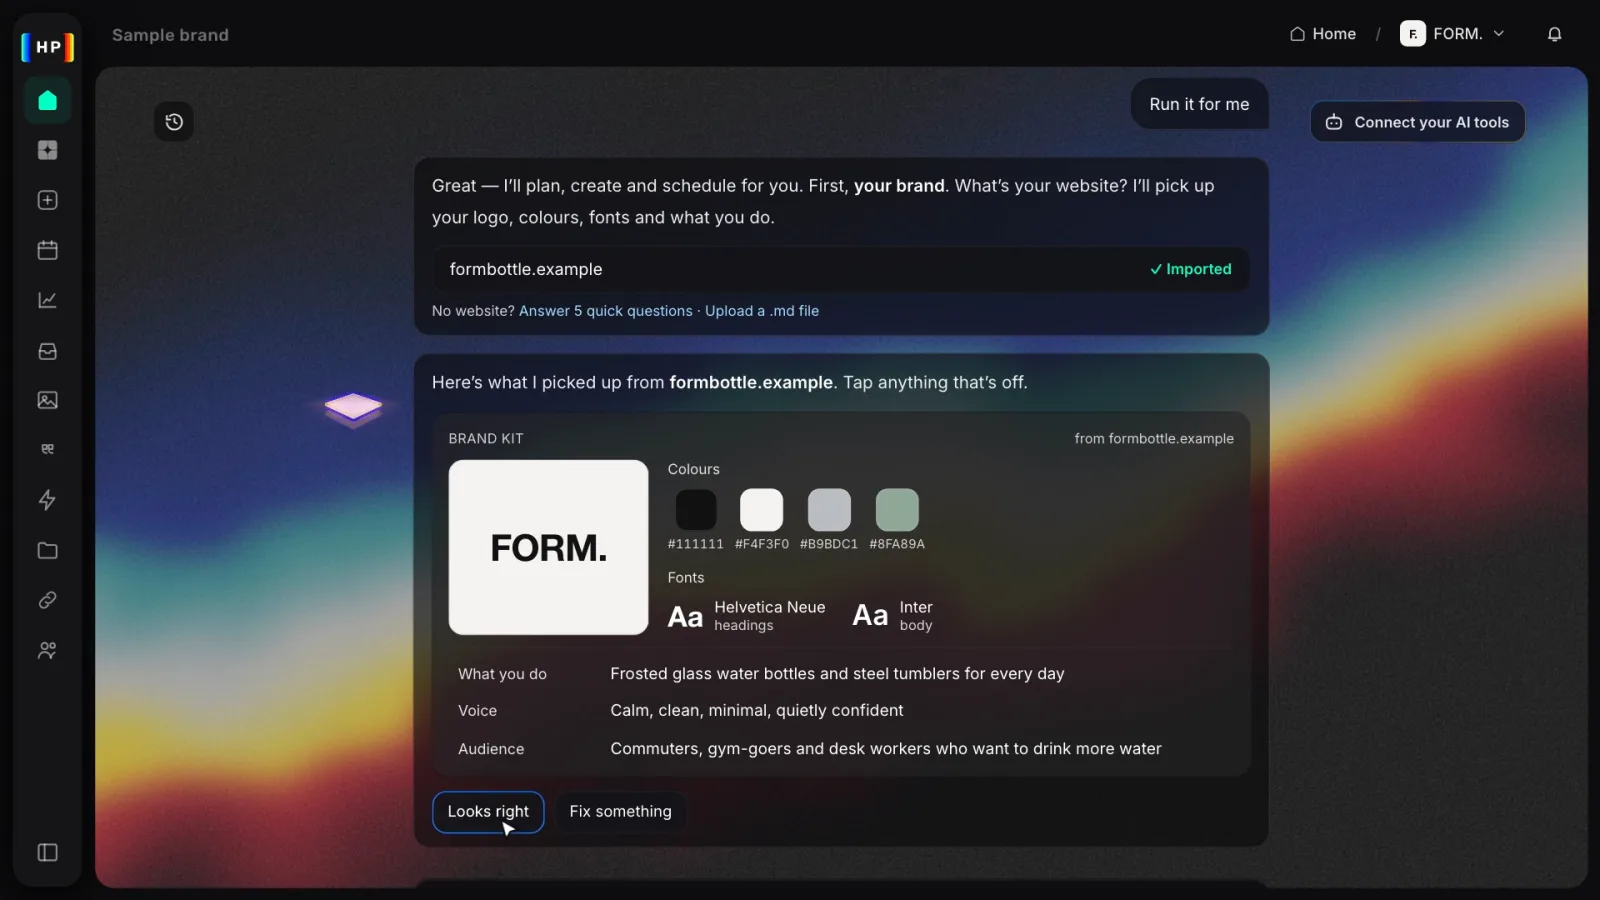
- Type your website and press Import. Hero_Agent reads your logo, colours and fonts, then what you do, how you sound and who you’re talking to. If anything looks off, tap it and fix it. Otherwise press Looks right.
- Choose where to post and how often. It fills this in from your connected accounts. Pick 3, 5, 7 or 14 posts a week, and switch on Hero_Photo if you’d like new photos made for you.
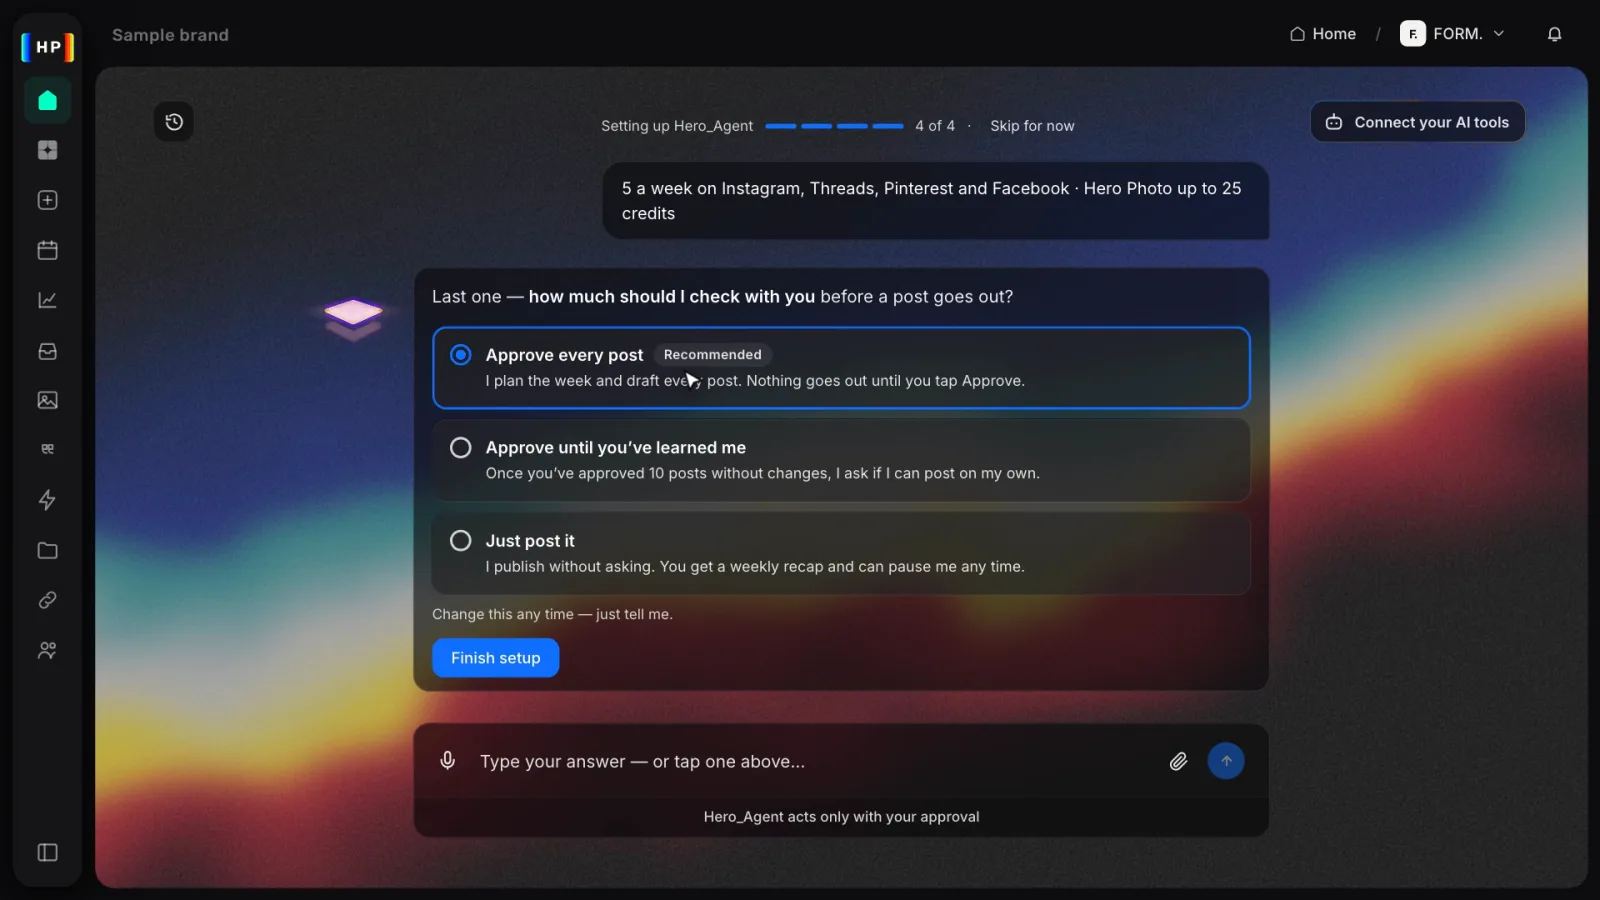
- Choose how much it checks with you. Approve every post is the default, so nothing goes out until you say so. Press Finish setup.
2. Approve your first week
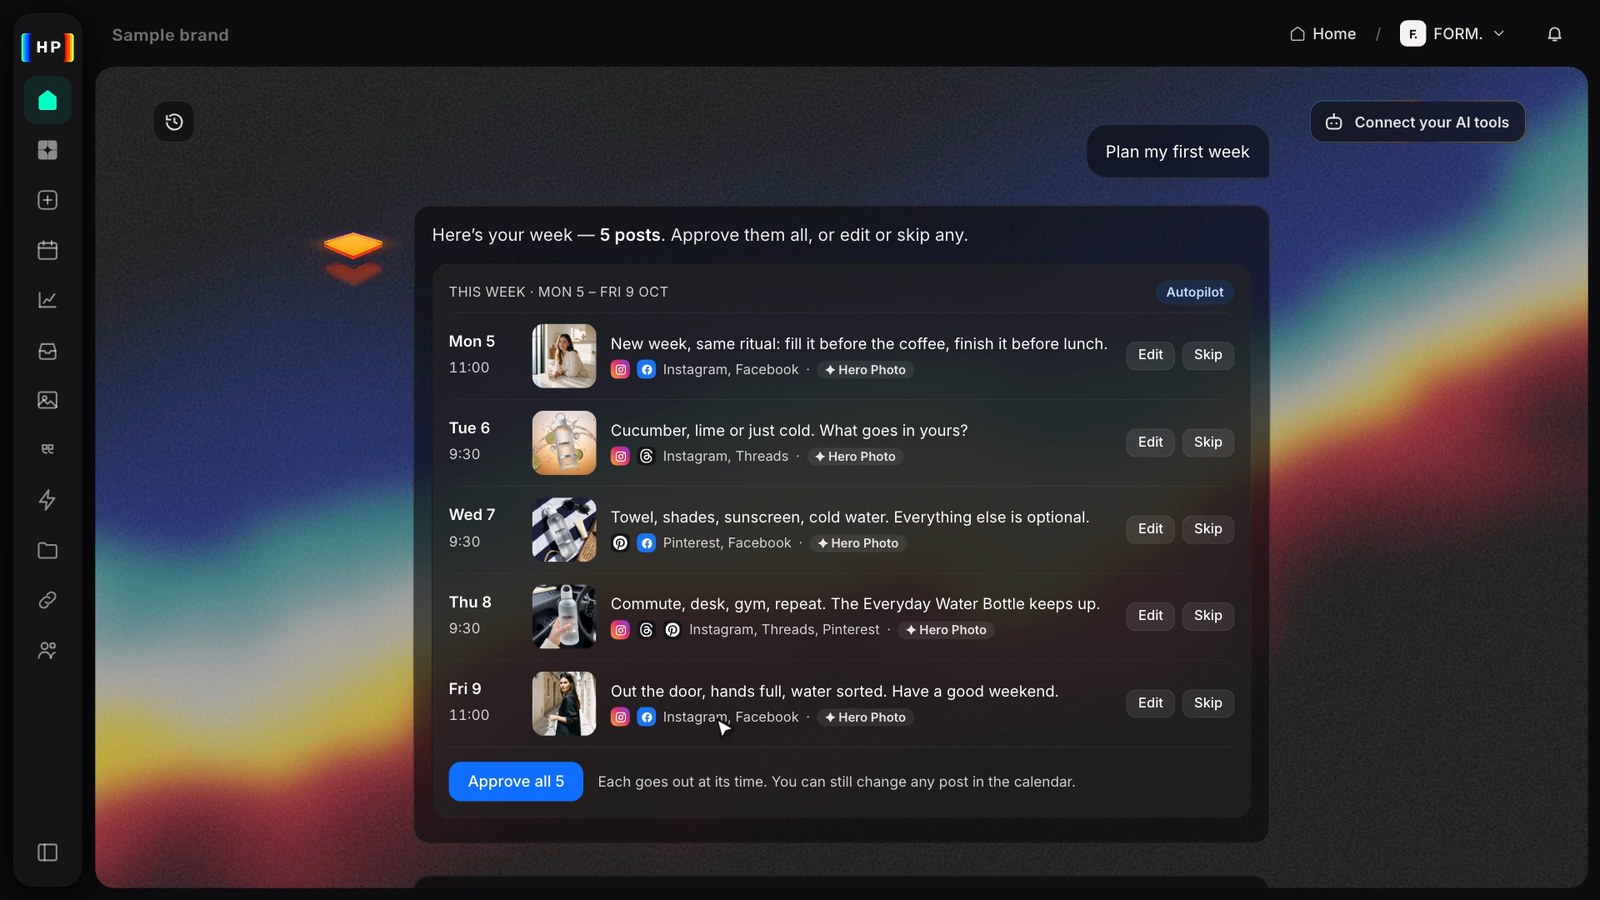
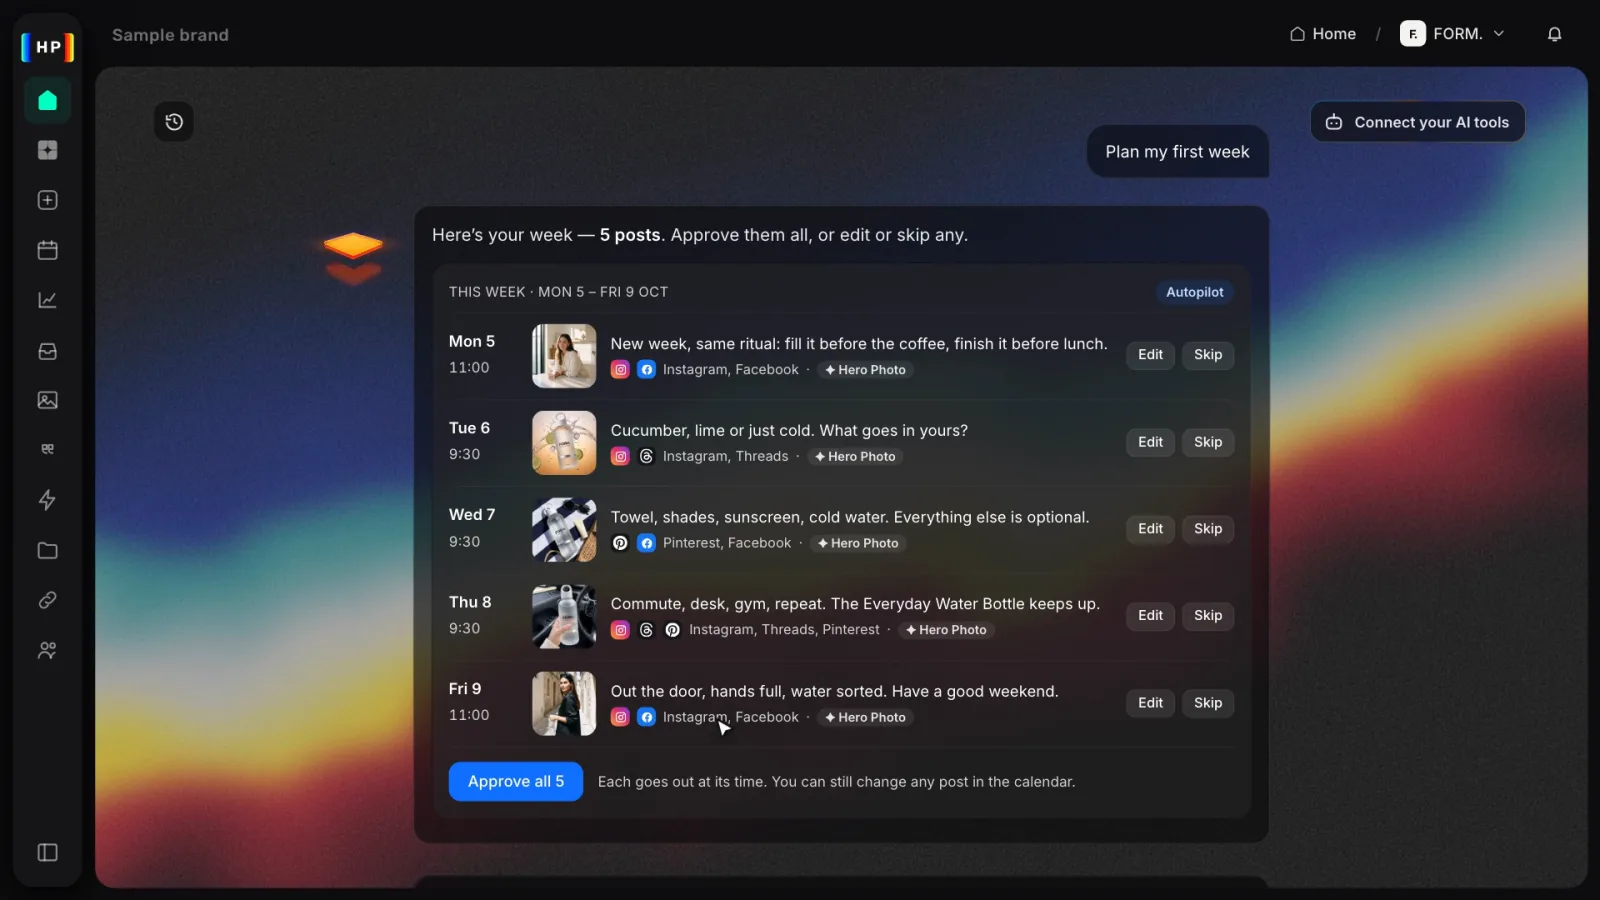
- Press Plan my first week. Hero_Agent writes each post in your voice and picks the photo, the networks and the time.
- Nothing is scheduled yet. Every post waits for you. Press Edit to change a post, or Skip to drop it.
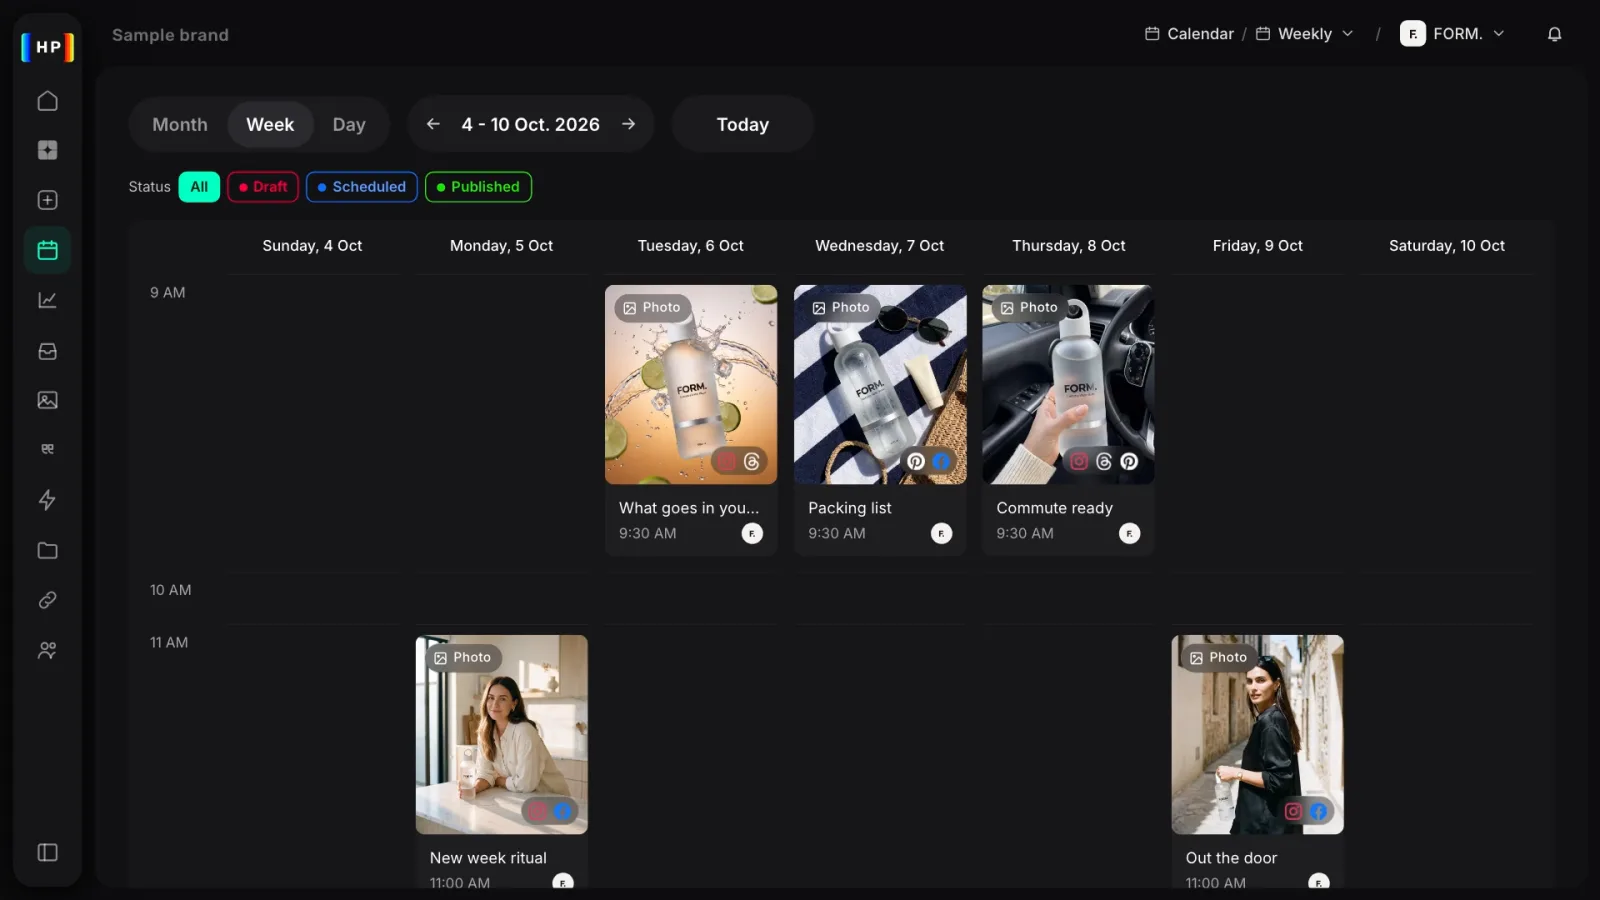
- When the week looks right, press Approve all. Each post goes out at its time, and you can still change any of them in the calendar.
3. Make a product photo with Hero_Photo
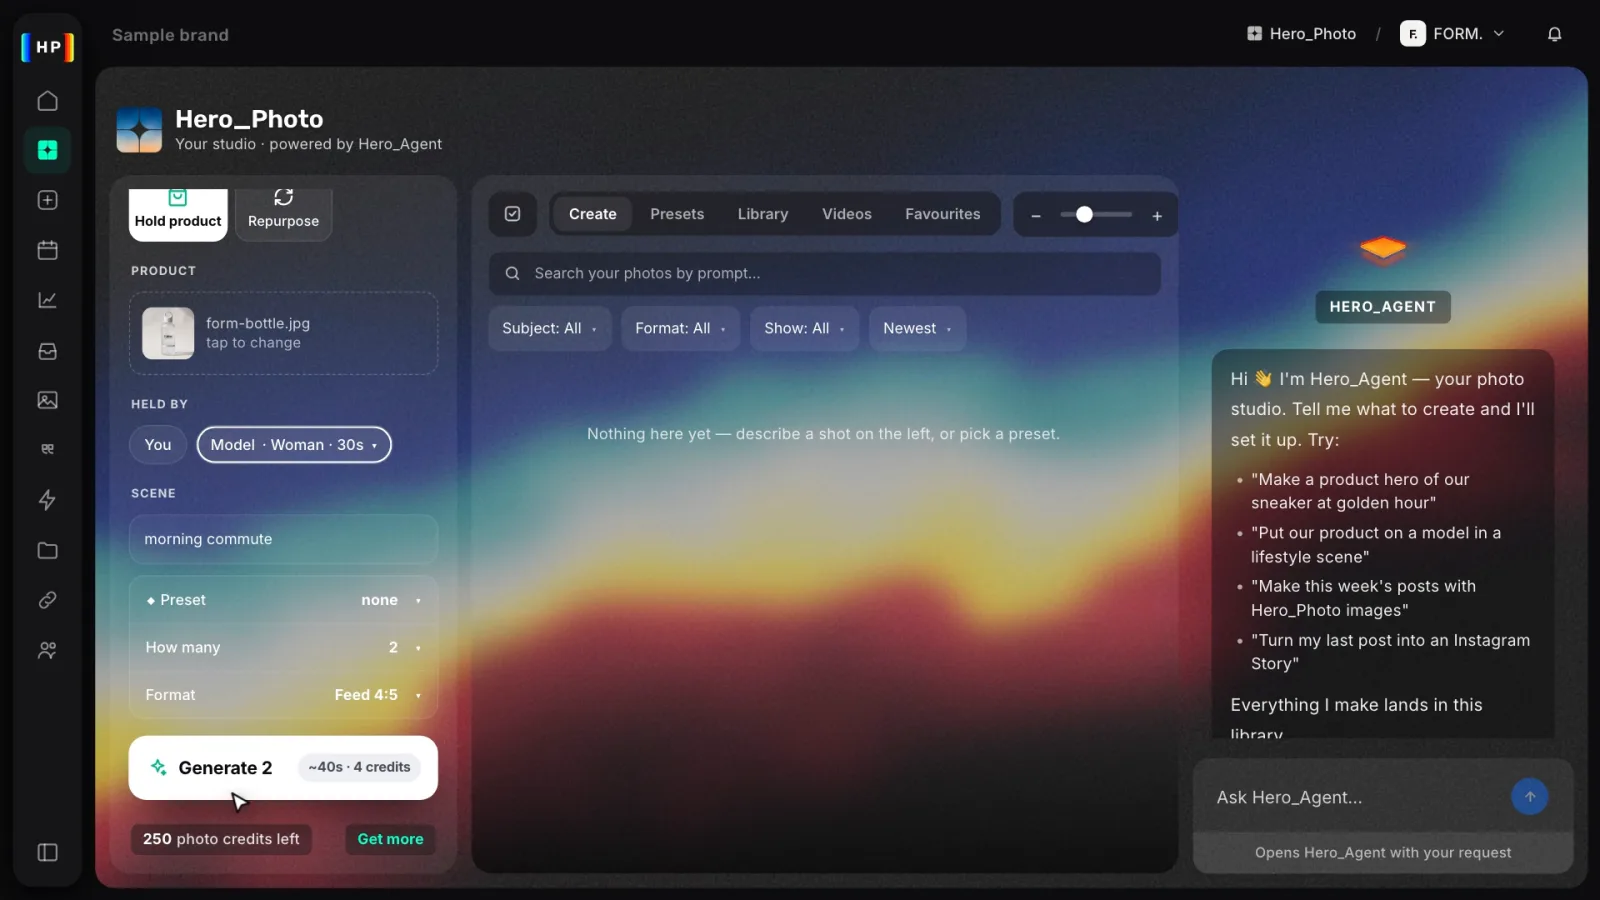
- Open Hero_Photo from the sidebar and choose Hold product.
- Drop in a photo of your product, or pick it from Shopify.
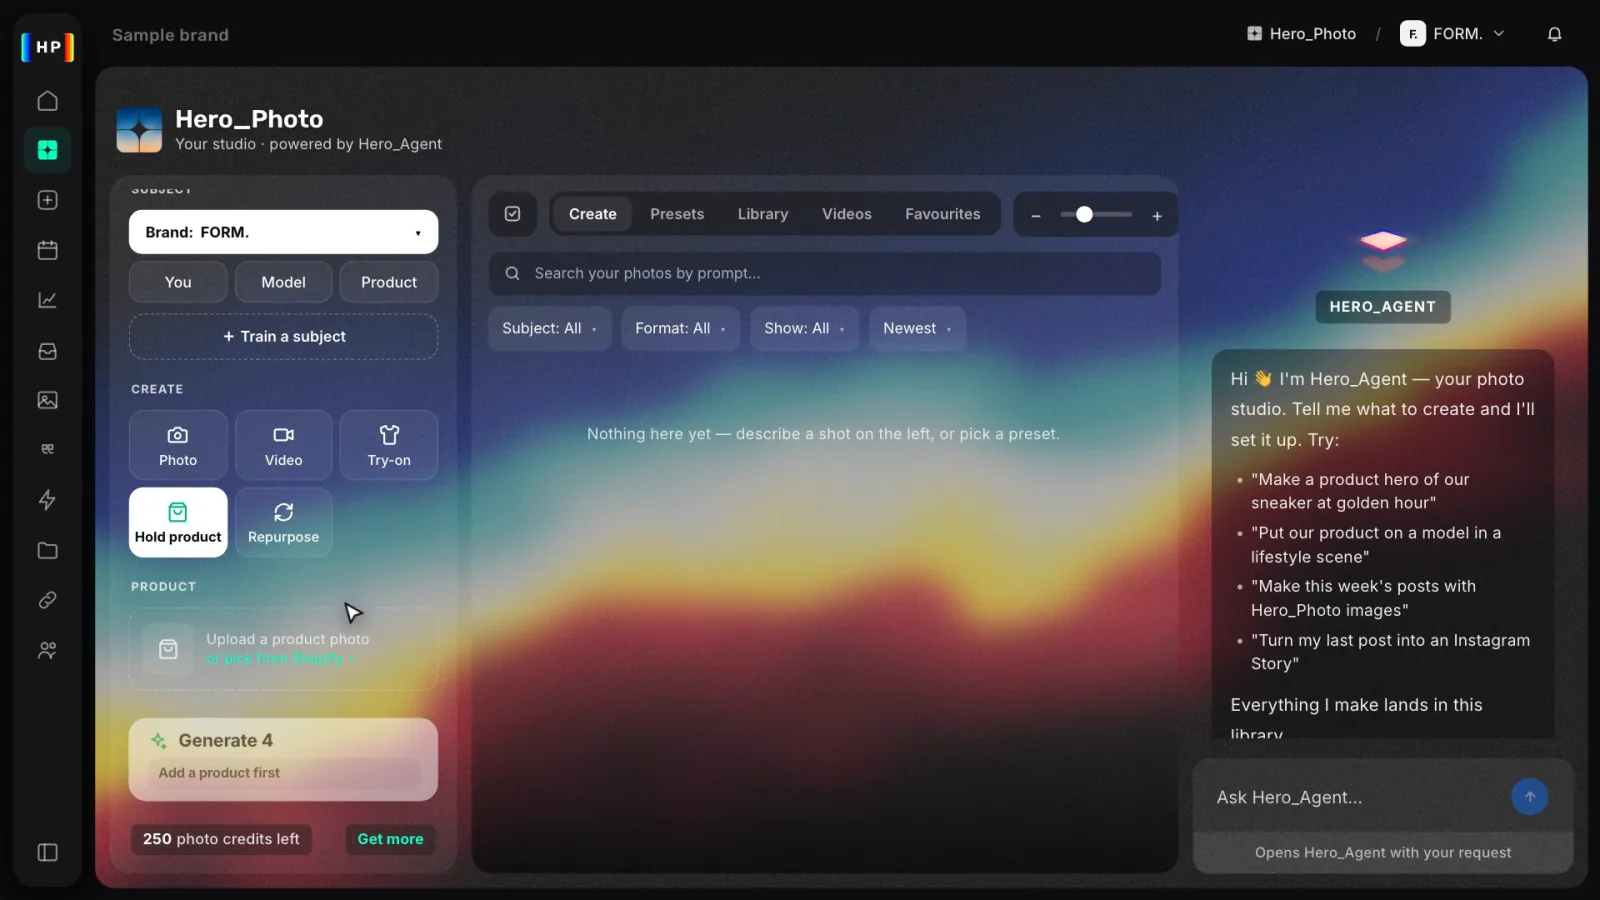
- Choose who’s holding it and the scene, then the format: Feed 4:5, Square, Story 9:16, Wide 16:9 and more.
- The Generate button shows how long it takes and how many credits it uses before you start. Press Generate.
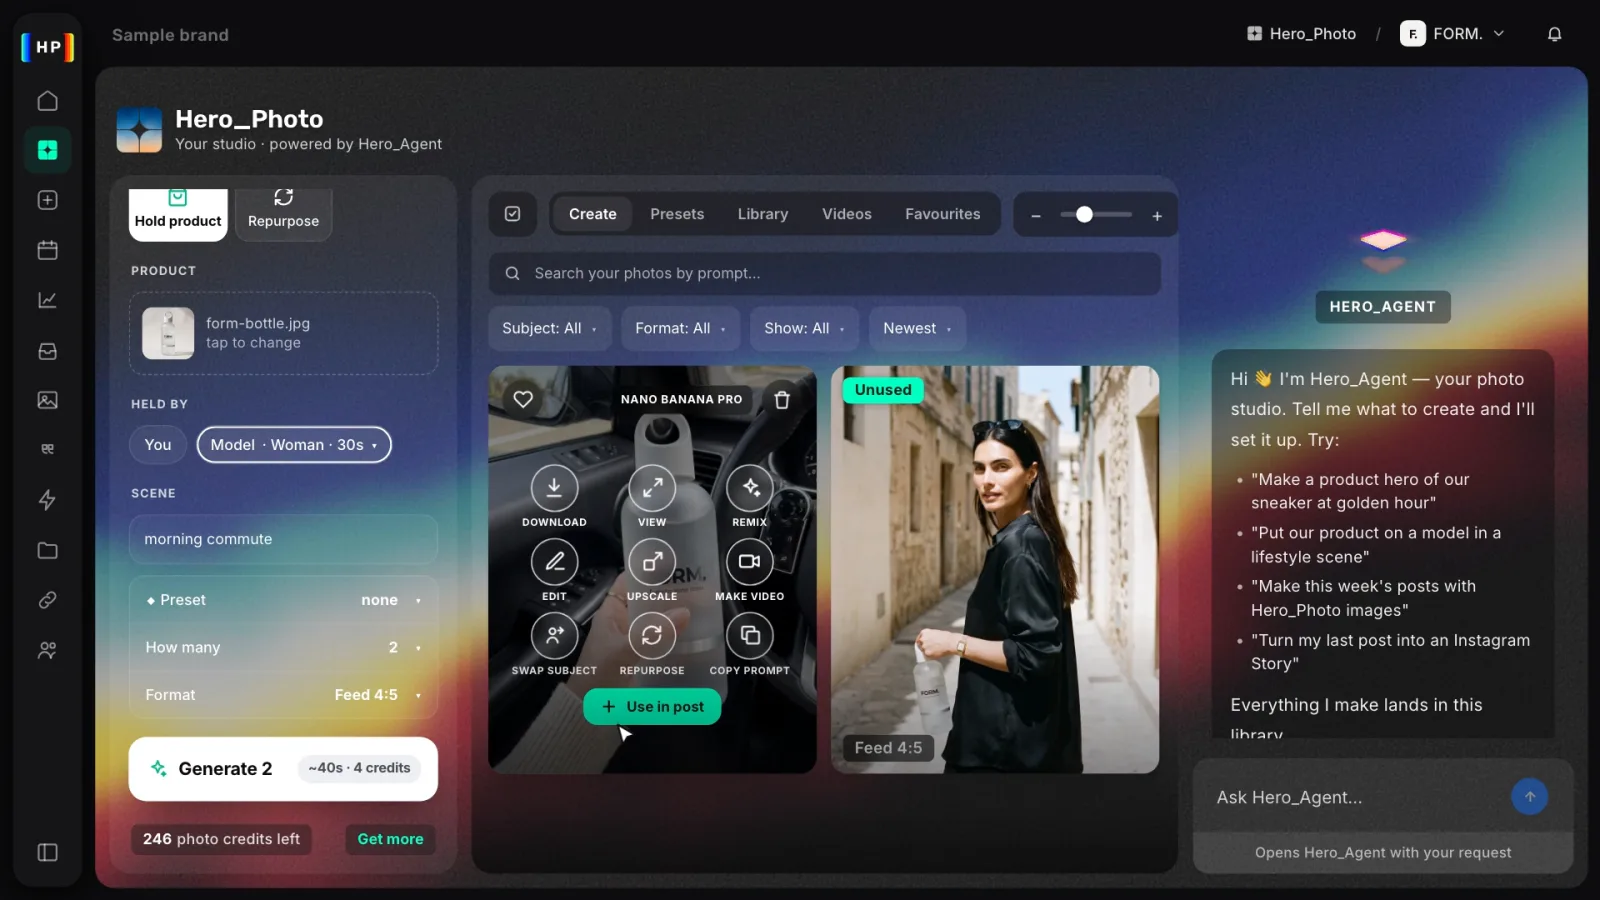
- When your photos are ready, download your favourite, or press Use in post.
More on Hero_Photo: herophoto.ai
4. Connect Claude to Heropost
- In Heropost, open Home → Connect your AI tools and choose Claude. Press Copy: that’s your personal link, so keep it private.
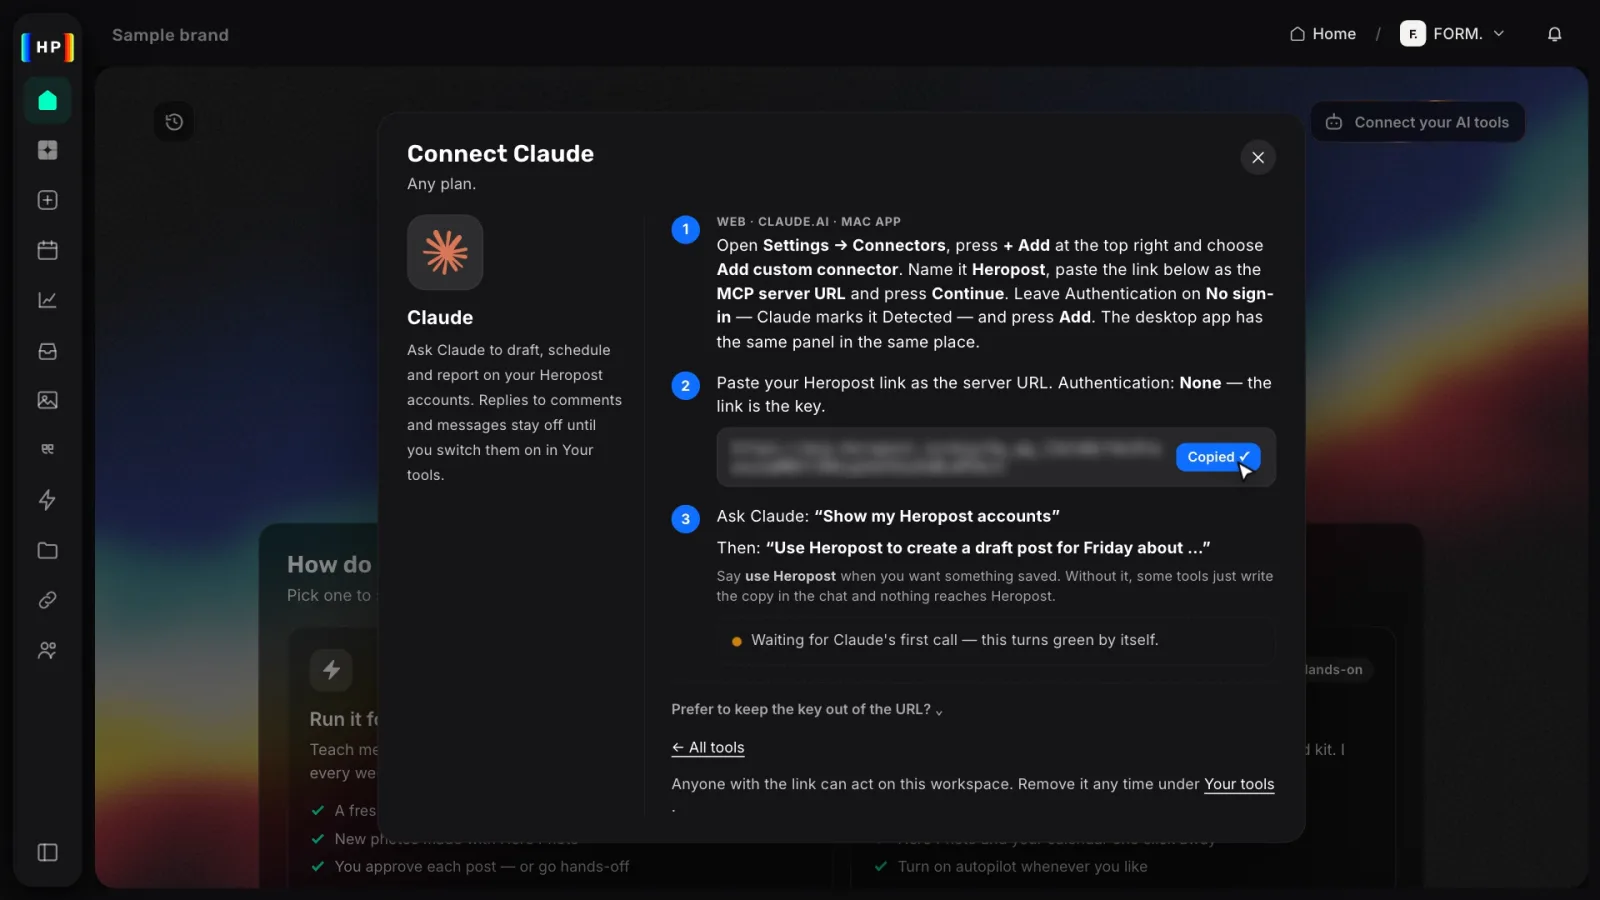
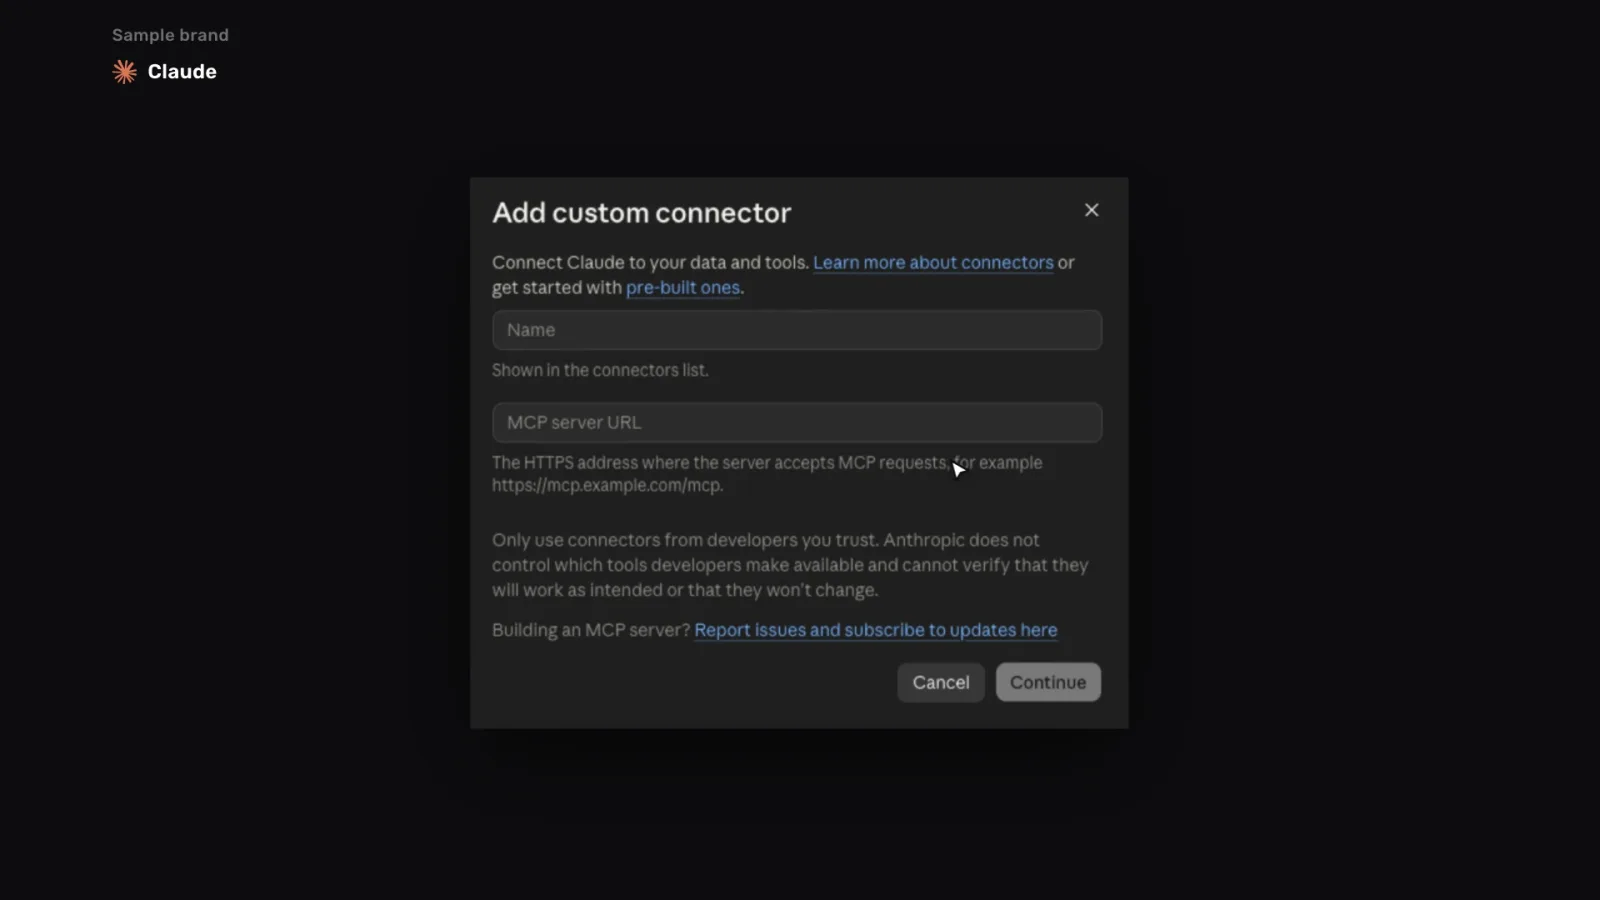
- In Claude, open Settings → Connectors, press Add, then Add custom connector. Name it Heropost, paste your link and press Continue. Leave Authentication on No sign-in and press Add.
- Ask Claude: “Use Heropost to create a draft post for Friday.” The draft shows up in Heropost, ready for you.
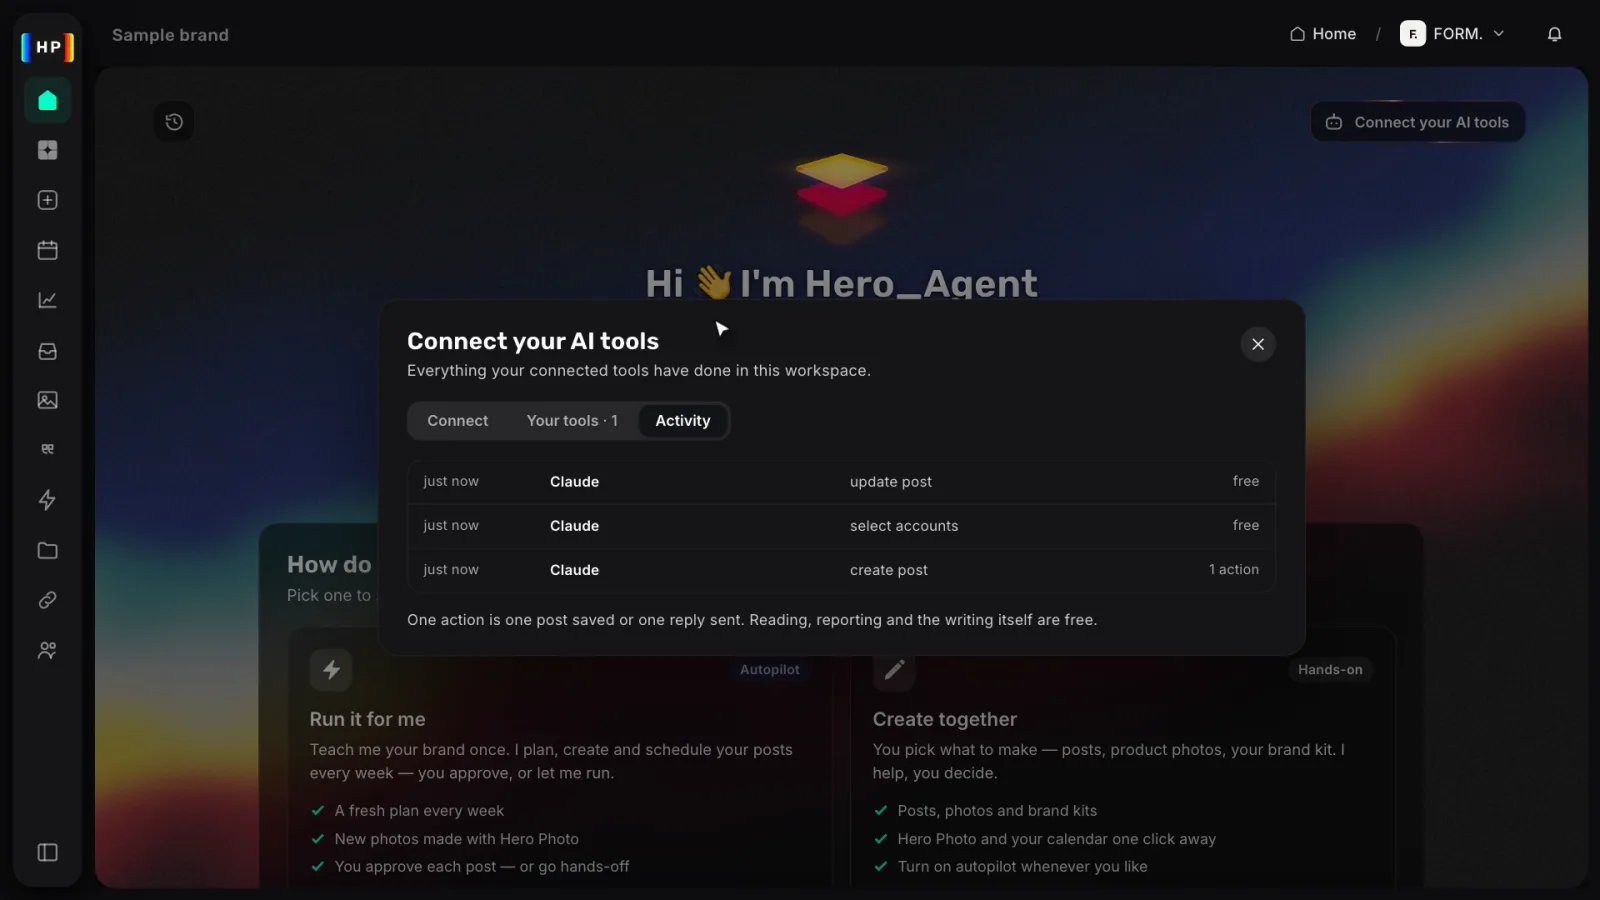
Full set-up guides: Claude · ChatGPT
5. Schedule a post
- Go to Content → Create Post and press New Post.
- Choose your accounts, write your caption, and add a photo or video.
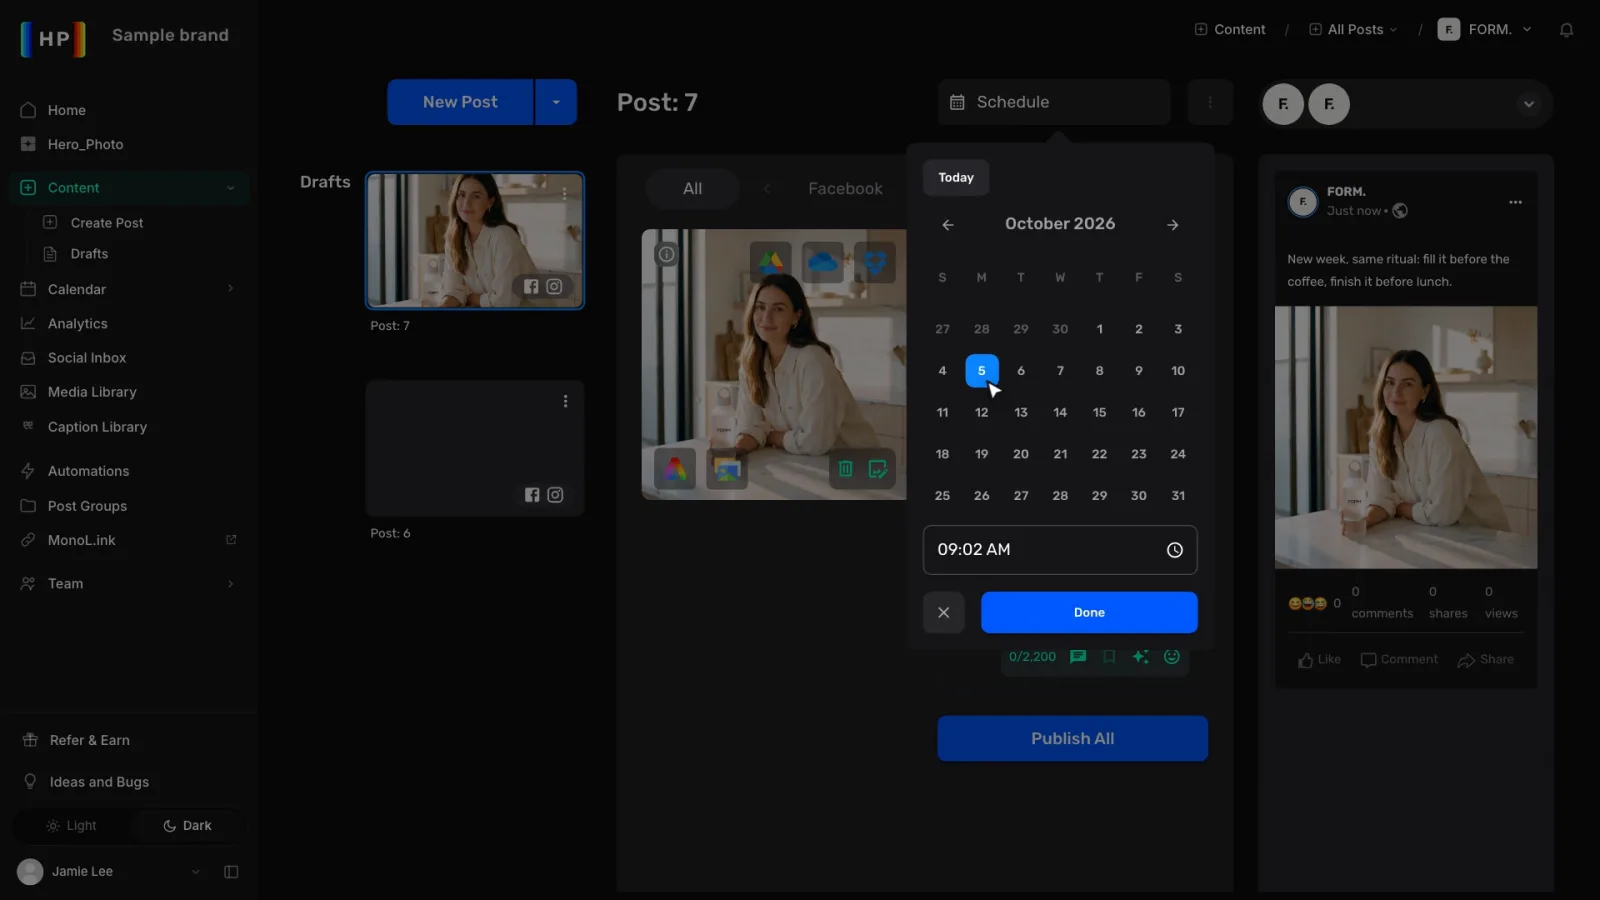
- Press Schedule, pick the day, set the time and press Done.
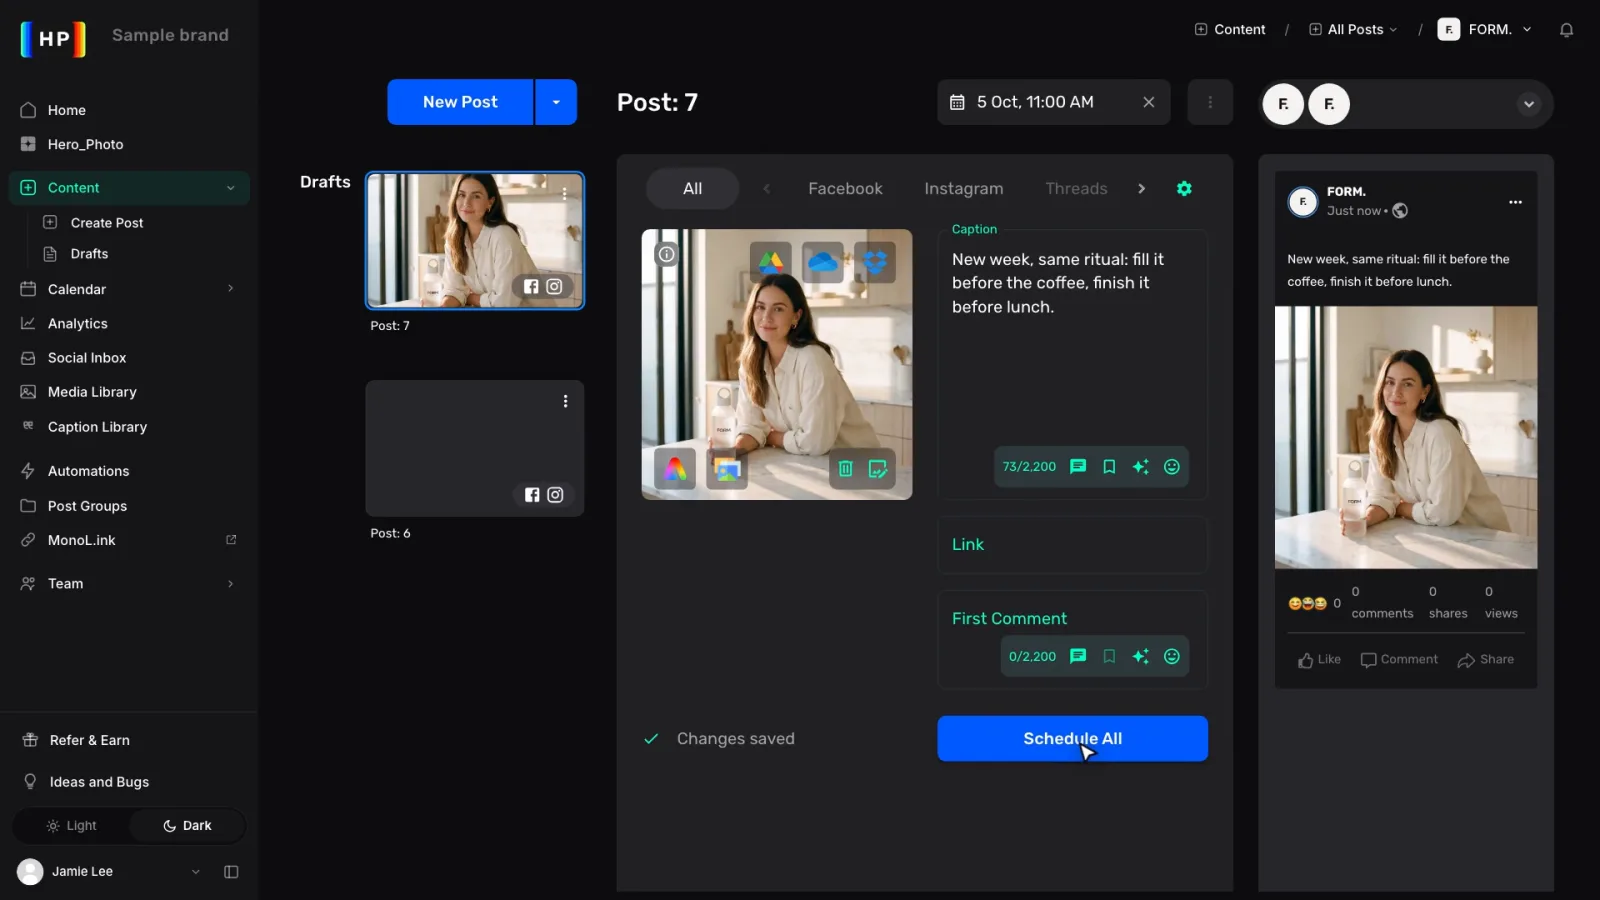
- Press Schedule All. Your post is on the calendar, and it goes out on its own at that time.
6. Move a post on the calendar
- Open Calendar. It opens on the Month view.
- Drag a post to a new day. Heropost reschedules it and confirms the new date.
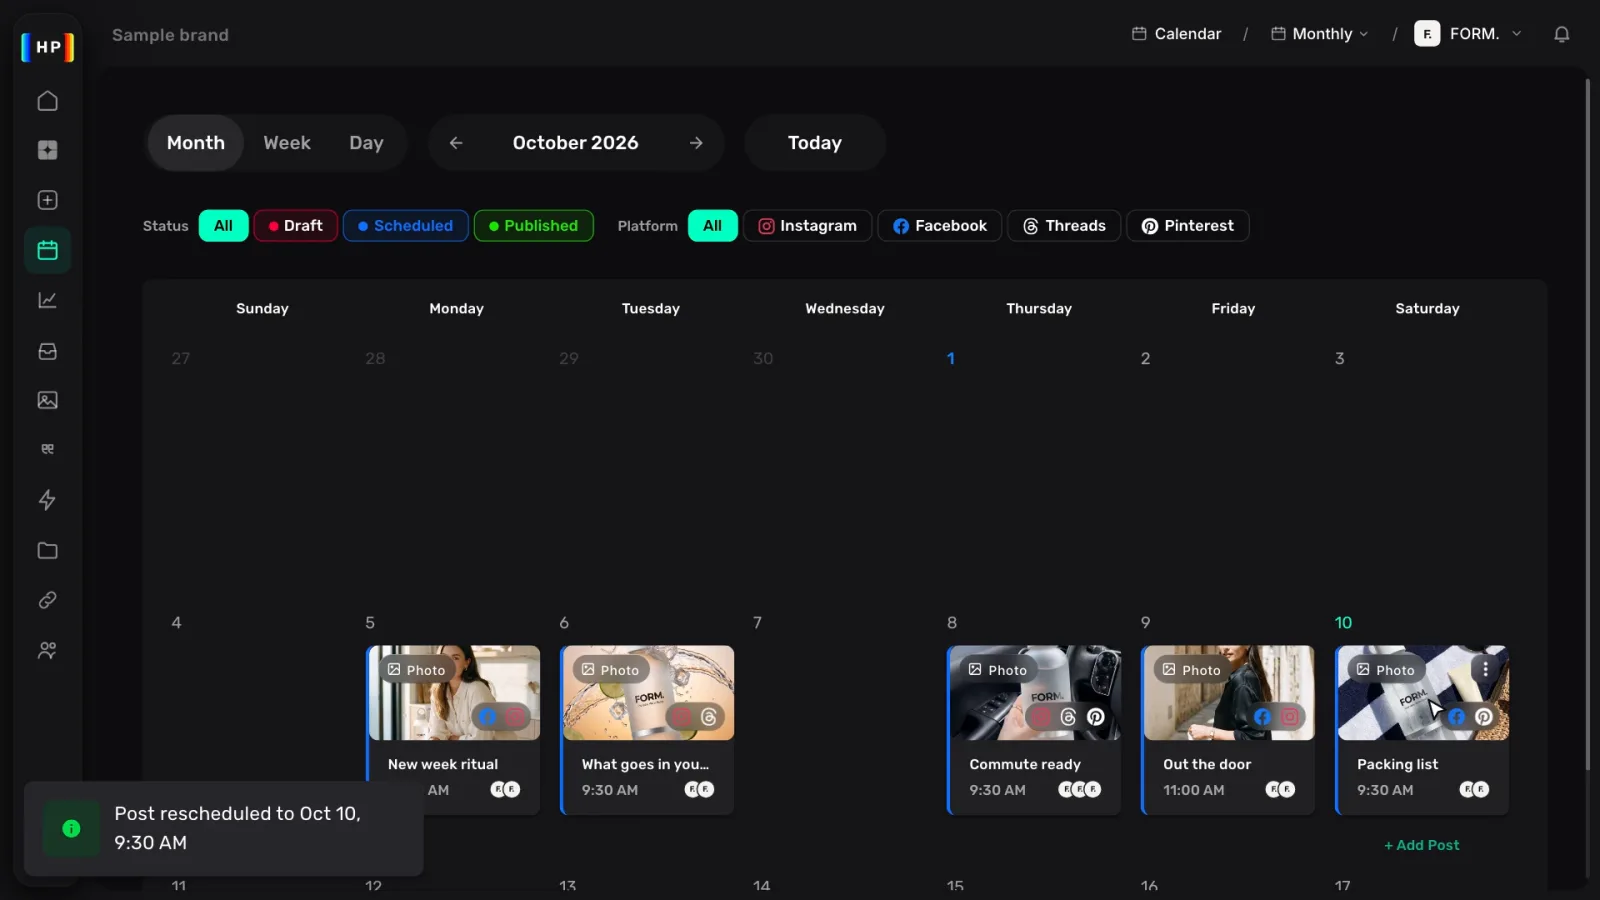
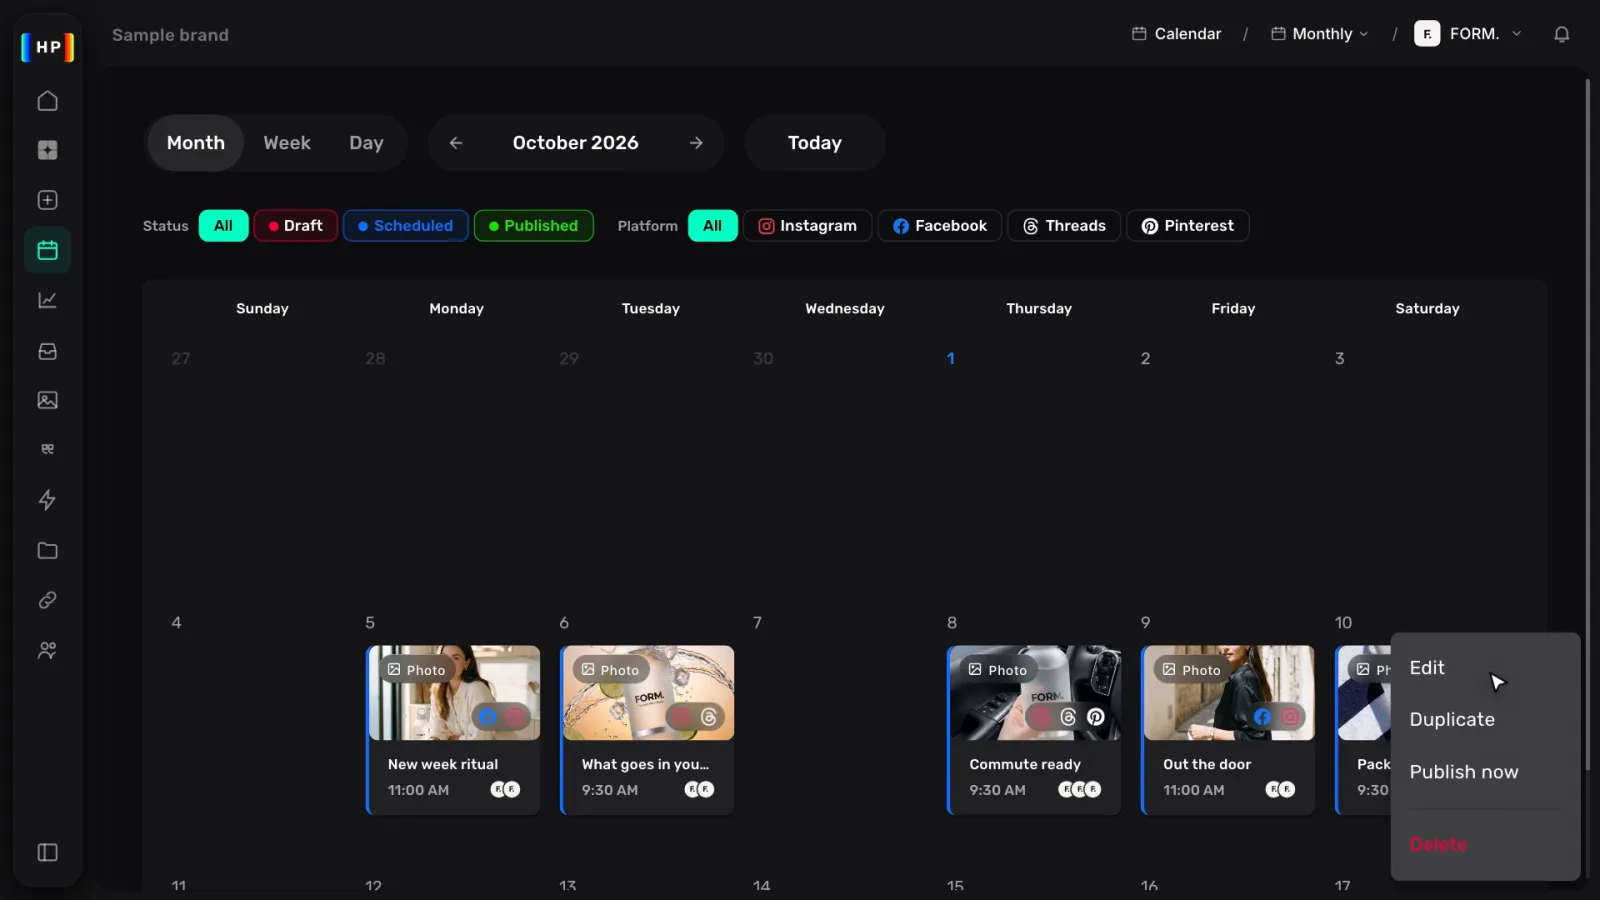
- To change the post itself, open its menu and press Edit. From the same menu you can duplicate it, publish it now or delete it.
7. Captions and hashtags with AI captions
- In the post editor, press the sparkle on your caption to open AI captions.
- Describe your post, or start from a template for your network. Pick the tone, the creativity, the number of words and hashtags, and the language.
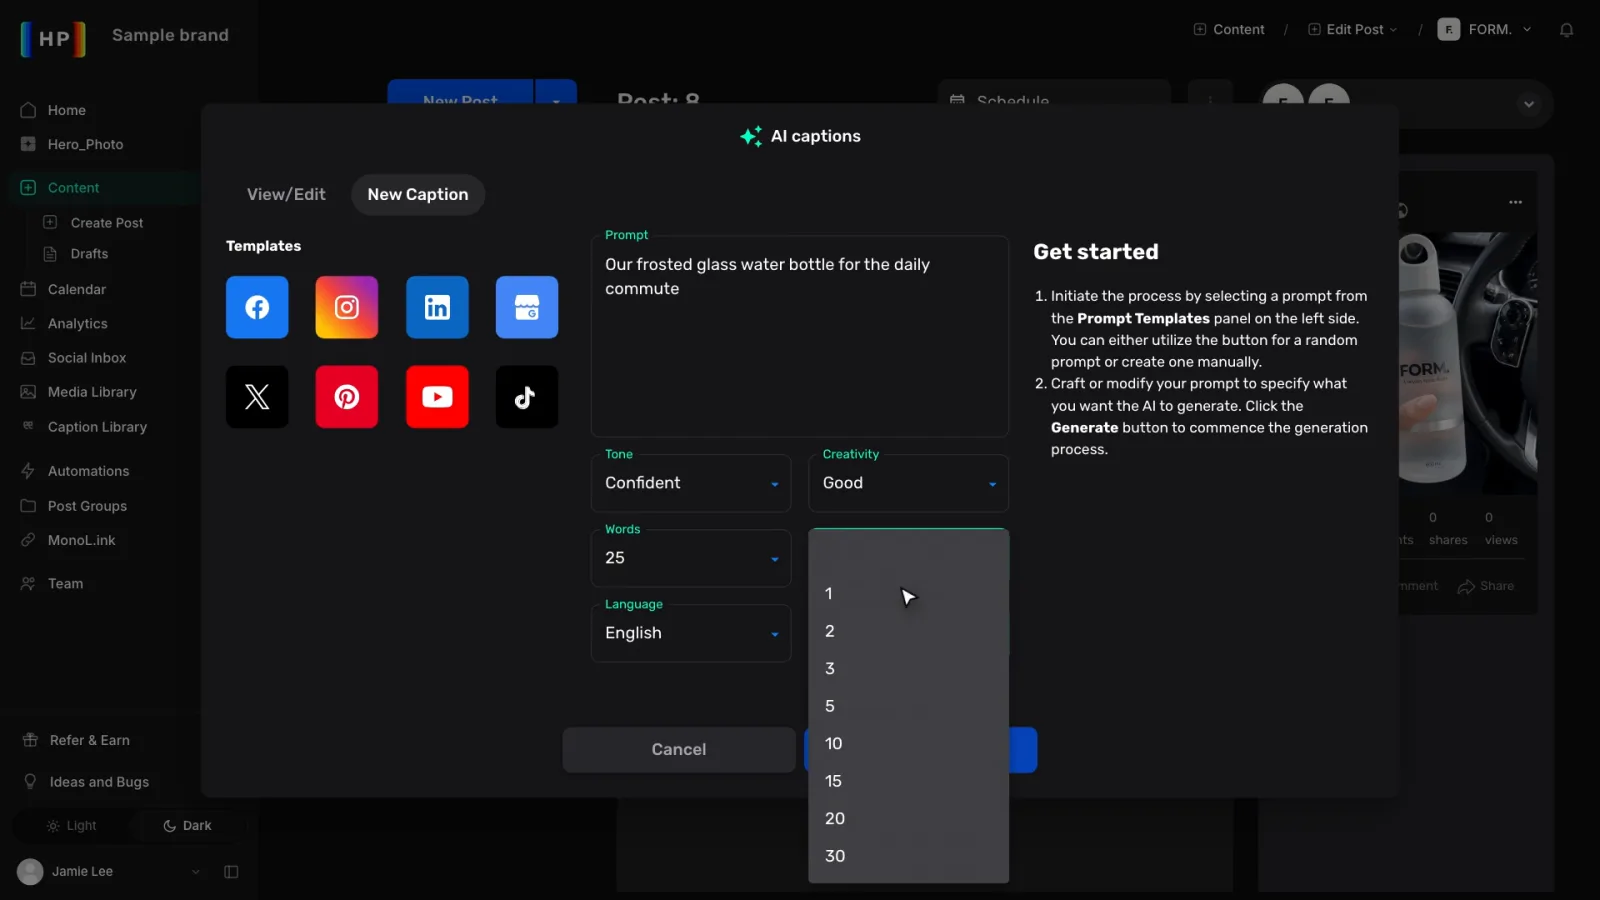
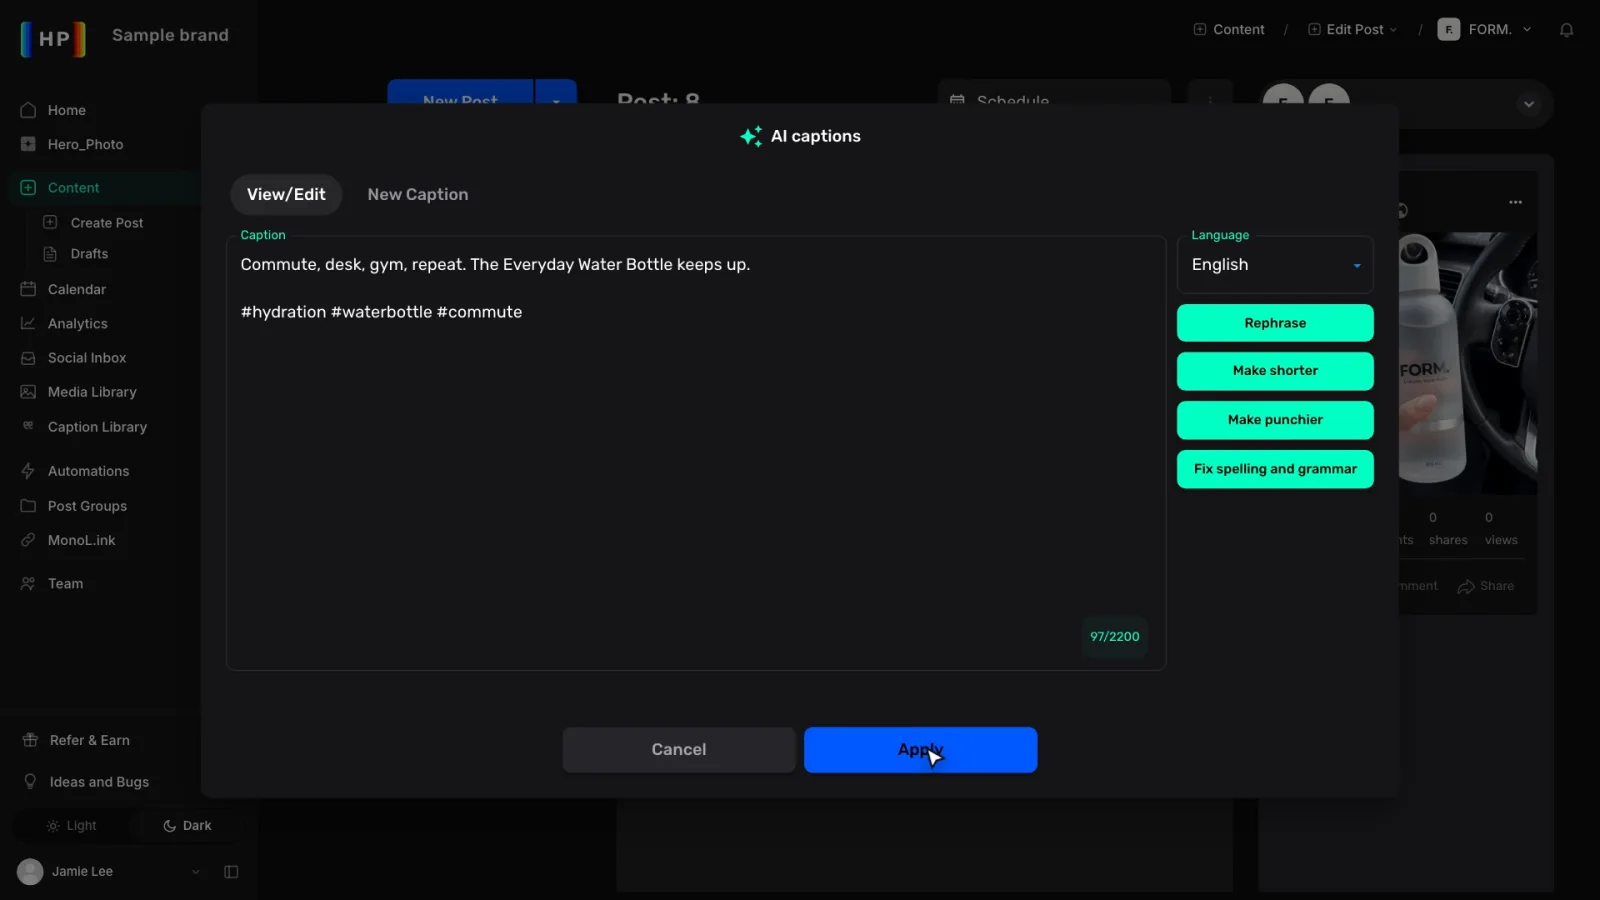
- Press Generate. Like it? Press Apply and it goes straight into your post. If it’s not quite right, tweak your prompt and try again.
8. Connect Instagram
- Open the workspace menu at the top and choose Accounts. Press Add Profile, then the Instagram icon.
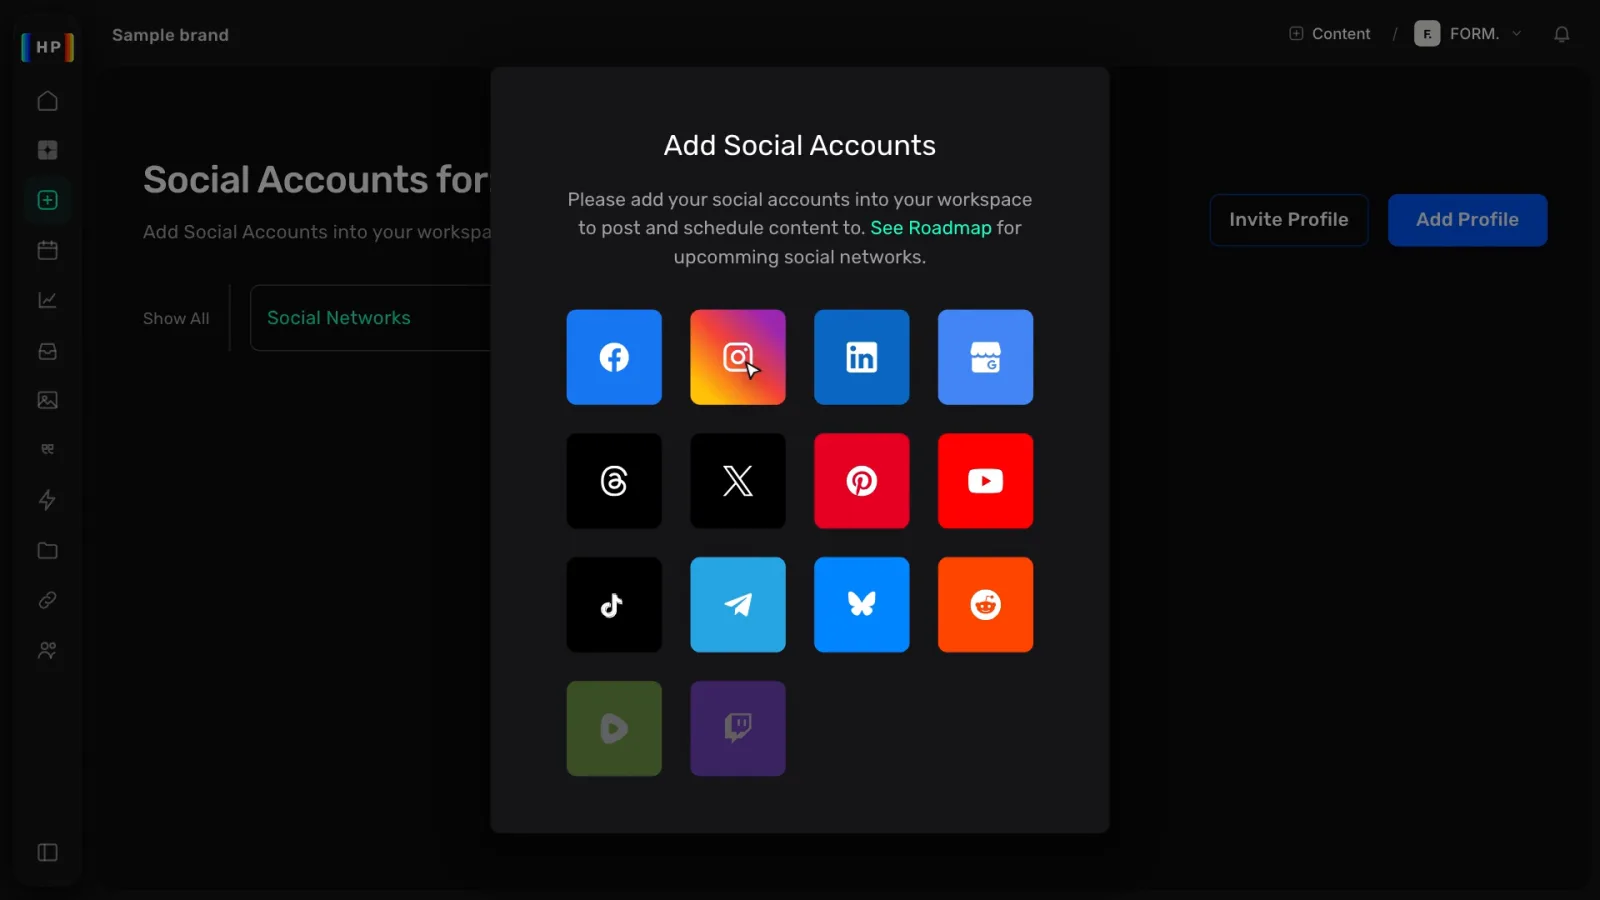
- Instagram connects through Facebook: log in to Facebook and allow access. Your Instagram needs to be a Business account linked to a Facebook Page.
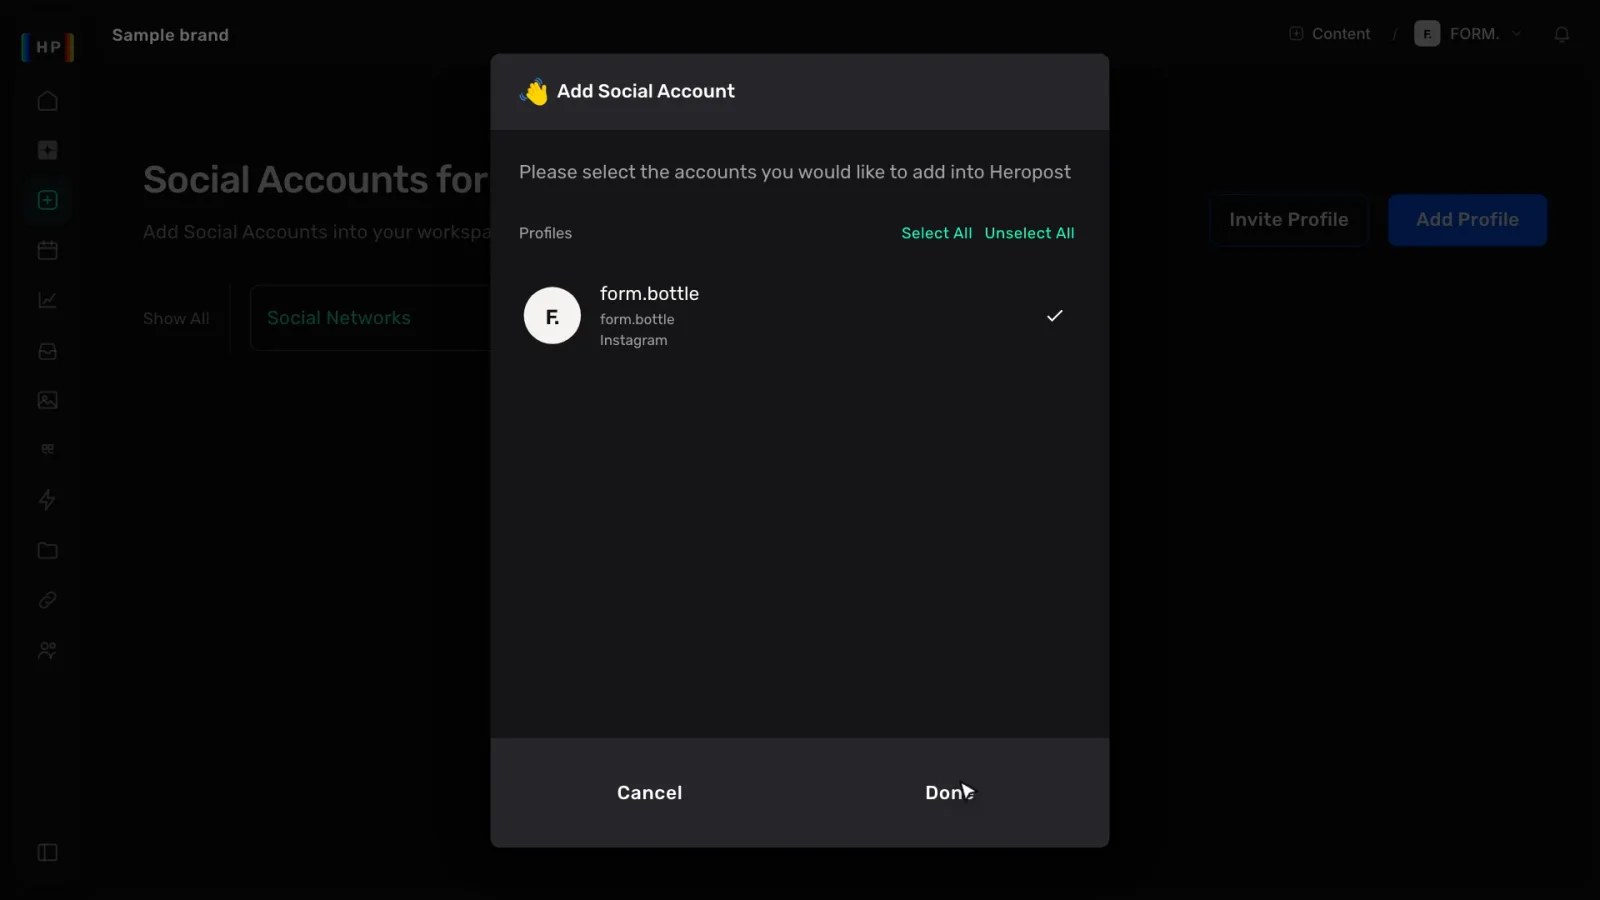
- Back in Heropost, tick the accounts you want and press Done.
9. A month of posts in one go
- On Home, choose Create posts in bulk.
- Set up your batch: which accounts, the period, how often, your themes, your media and the mix of posts. Press Build my plan.
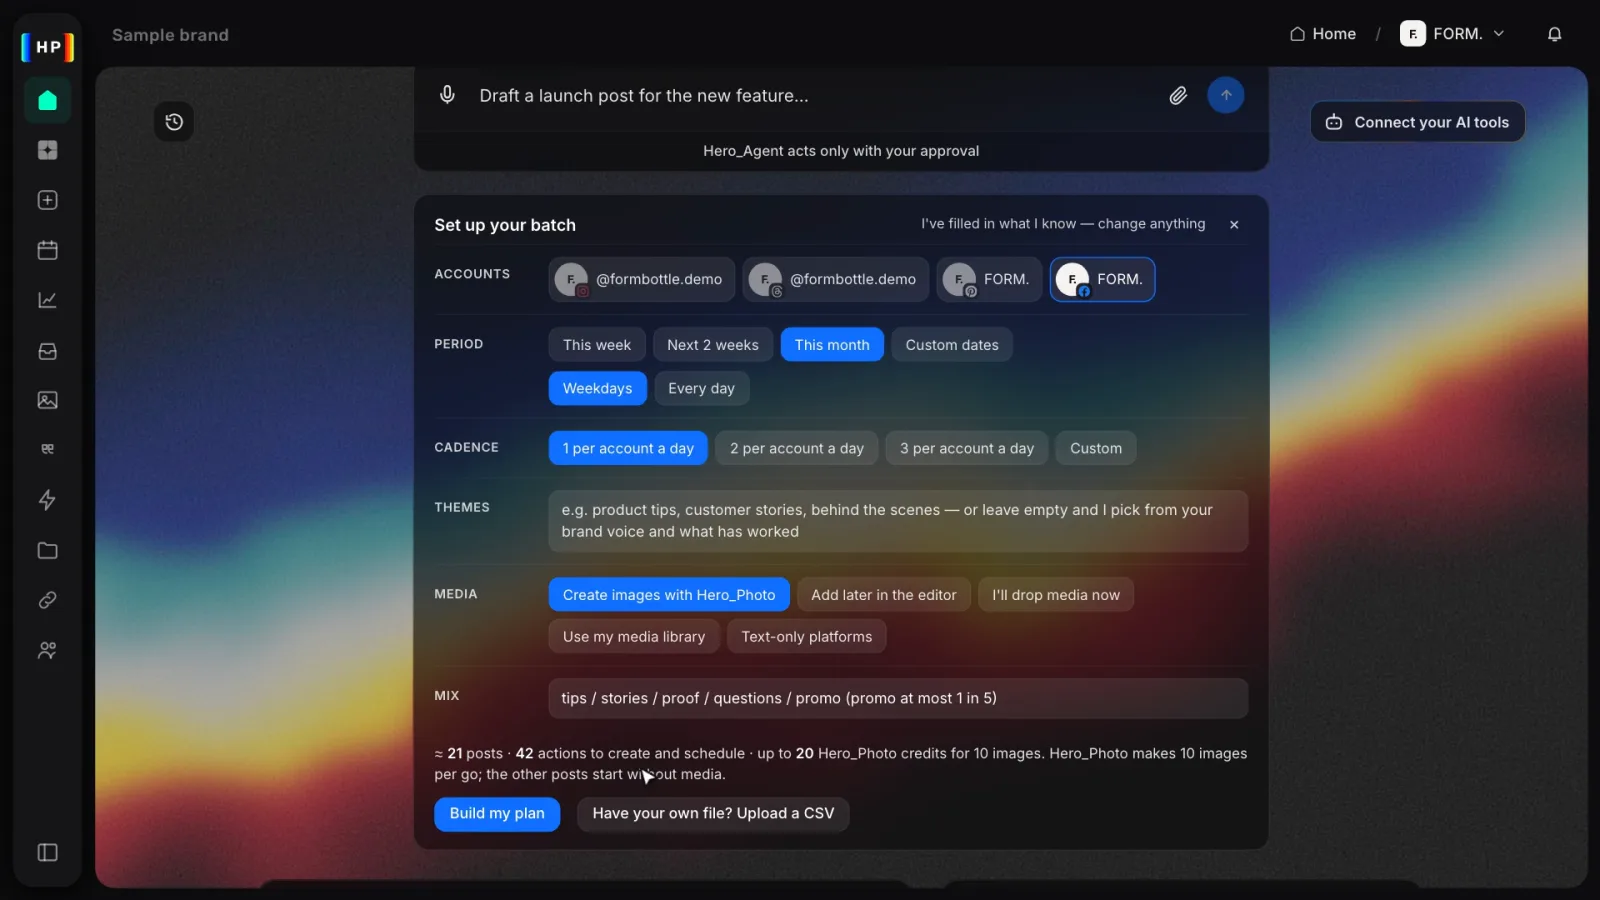
- Hero_Agent shows you the plan first. Happy with it? Tell it to go and it creates the posts. Then tap Schedule all, approve it, and they’re on your calendar.
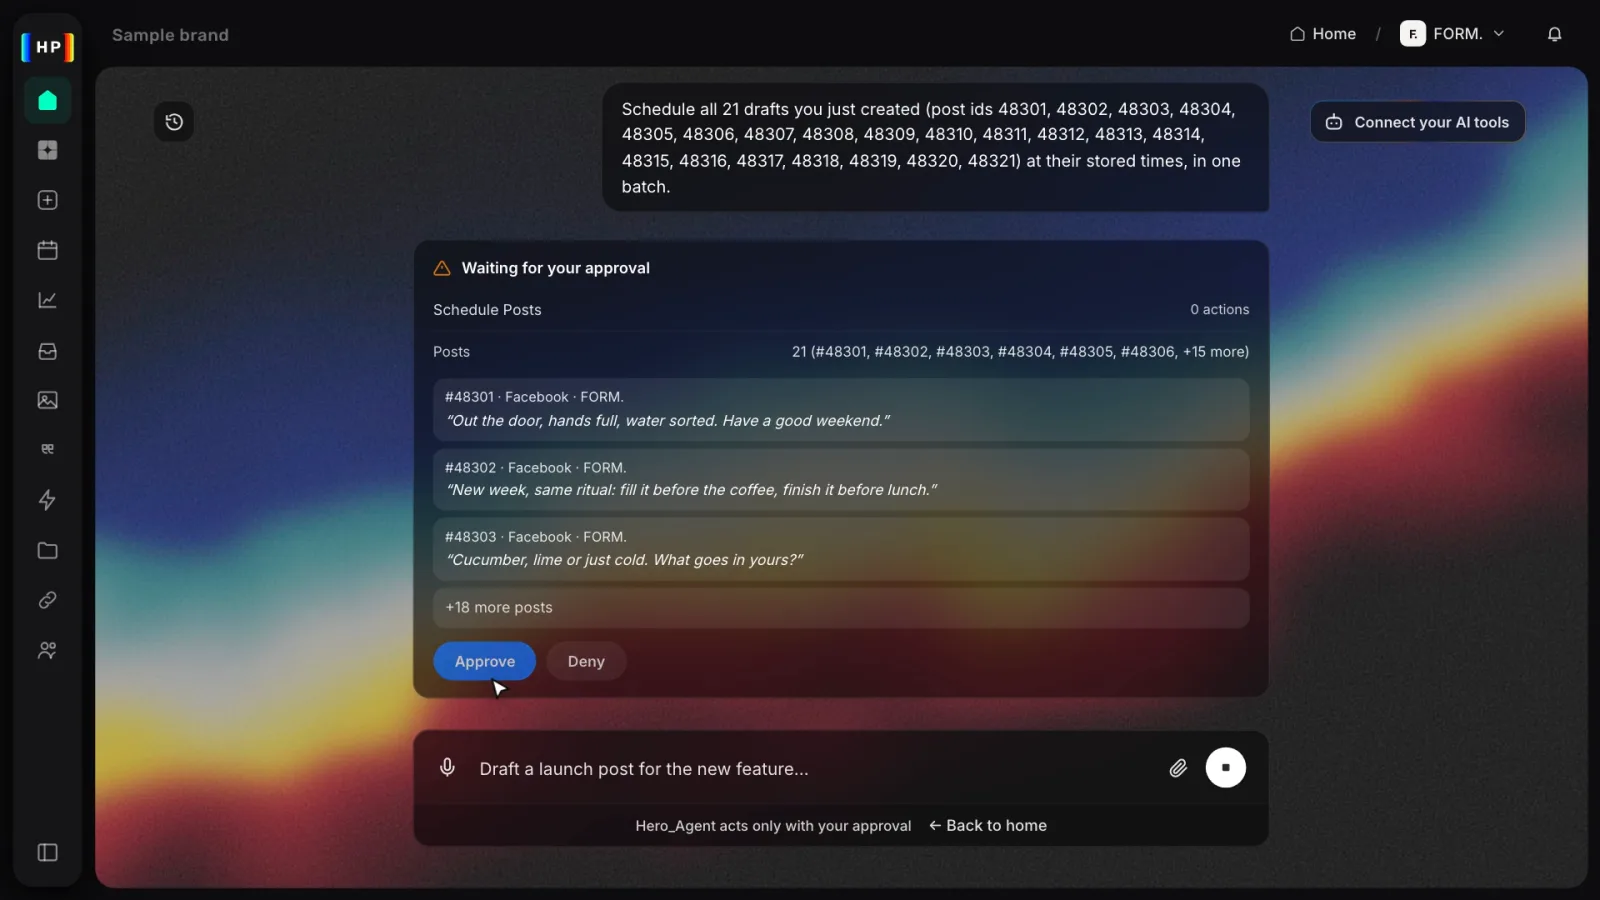
- Already have a spreadsheet? You can upload a CSV instead.
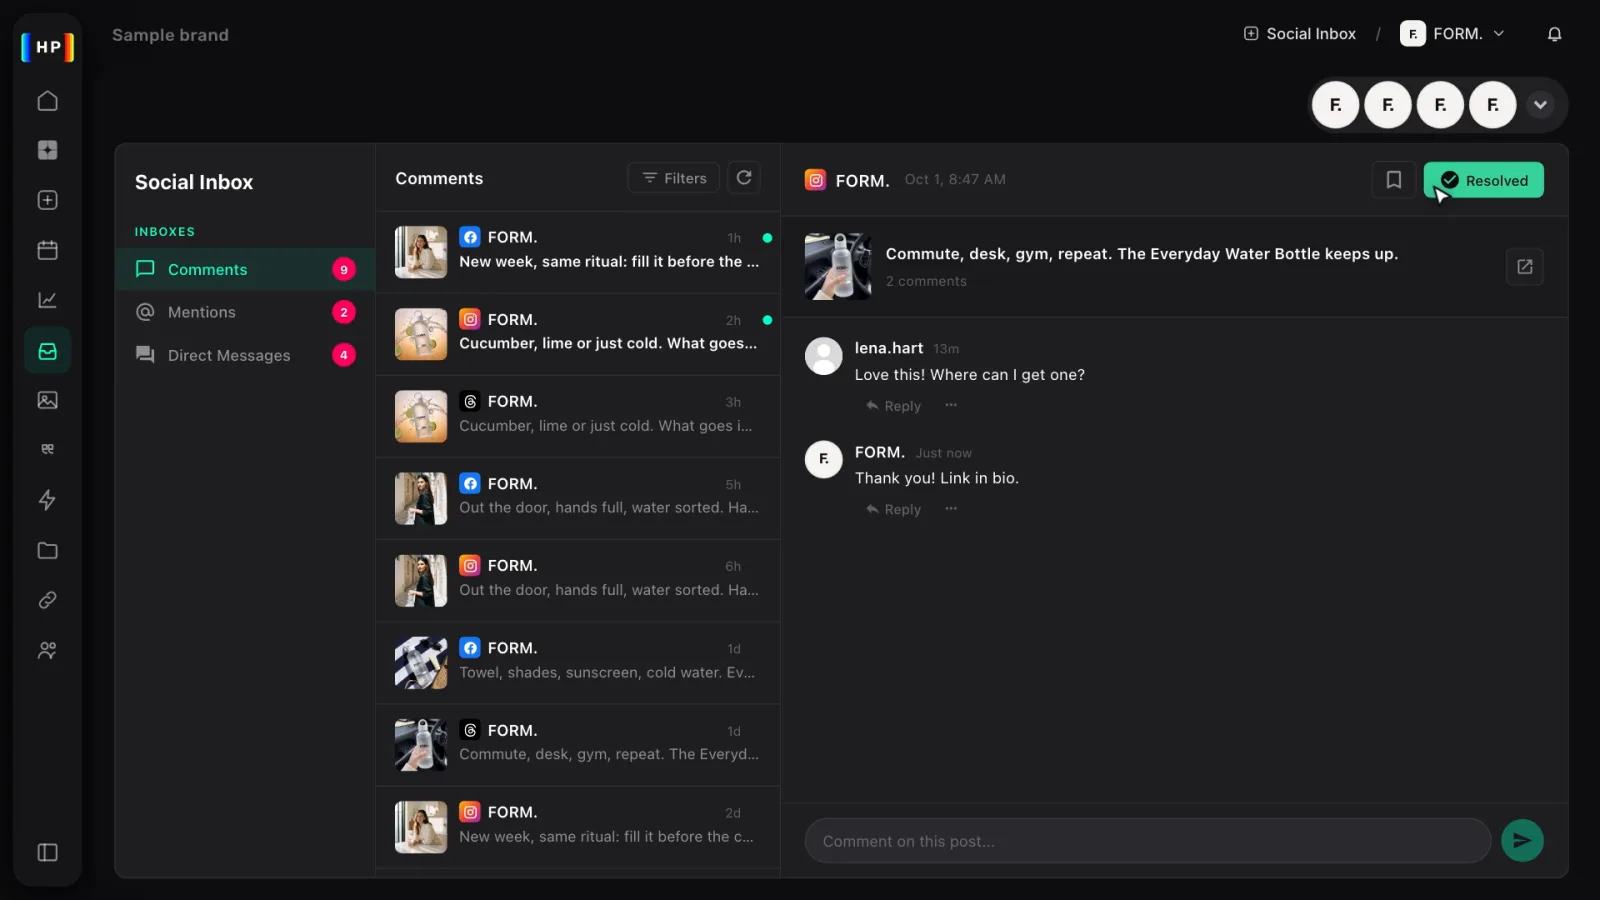
10. Answer comments and DMs from one inbox
- Open Social Inbox and choose Comments, Mentions or Direct Messages.
- Pick a conversation, type your reply and send it. It goes out as your account.
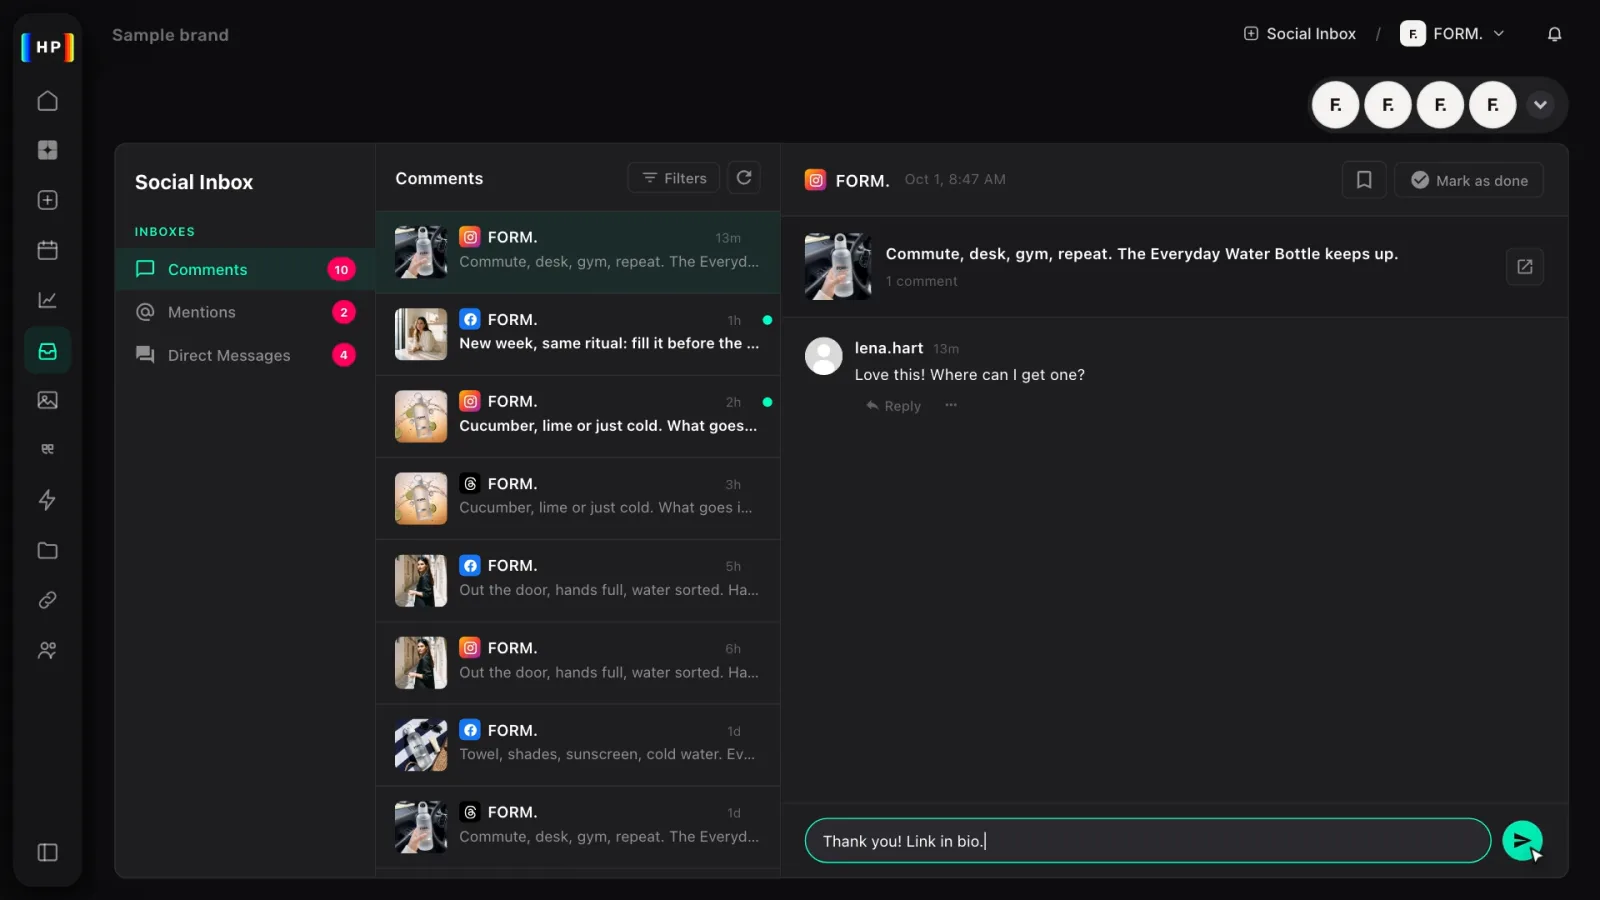
- Finished with it? Mark as done. Need to come back to it later? Mark it important.
Ready to try it?
That’s Heropost from setup to inbox. Hero_Agent plans it, Hero_Photo makes it, and you stay in control.
Get started at heropost.ai · Watch the full guide on YouTube